Retro Review: HP Omnibook 600C - Part 2
2nd November 2025
Introduction
In Part 1, we took a look at this sub-notebook I acquired in 2019 - a Hewlett-Packard OmniBook 600C. In this Part 2, I'll be taking it apart to see just how bad the battery leakage is, and clean it up. The machine still works fine apart from the original hard disk, which is certainly on its way out.
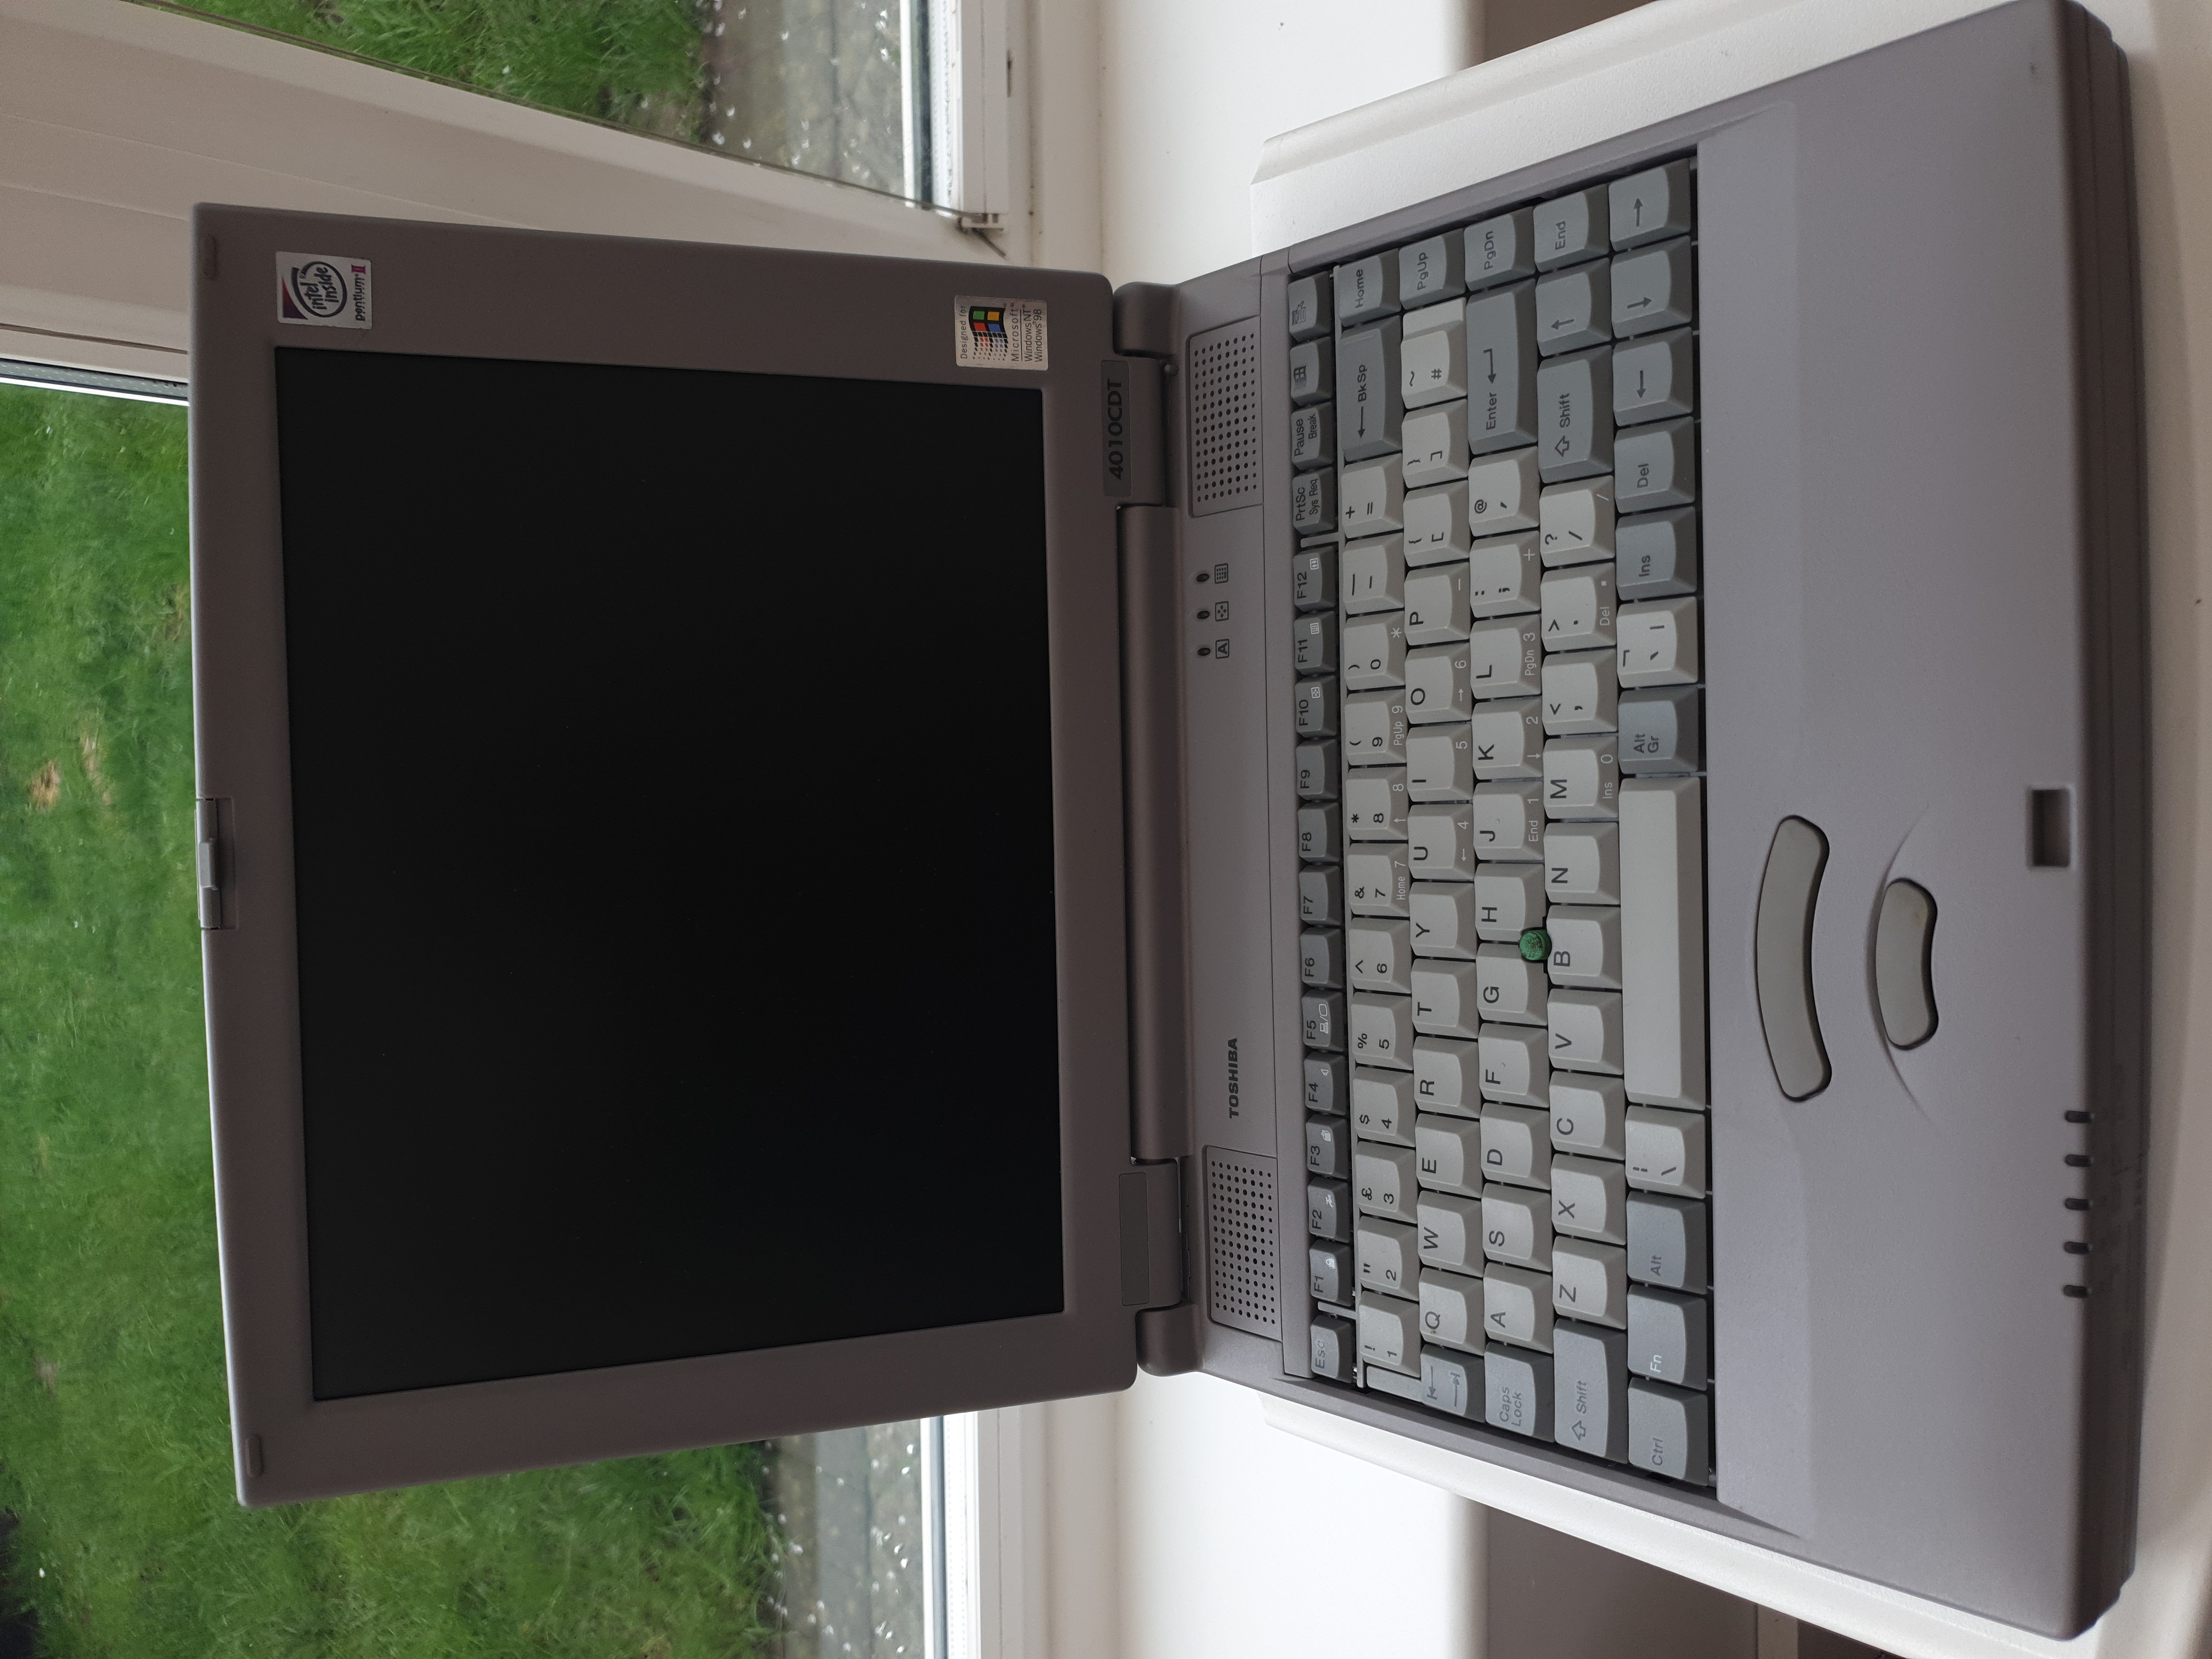
The HP OmniBook 600C sub-notebook from 1994
The Teardown
First we'll remove the mouse. This is easy - just press the mouse eject button, then grab the mouse and pull firmly to the right to pull the unit and its cable from the machine:
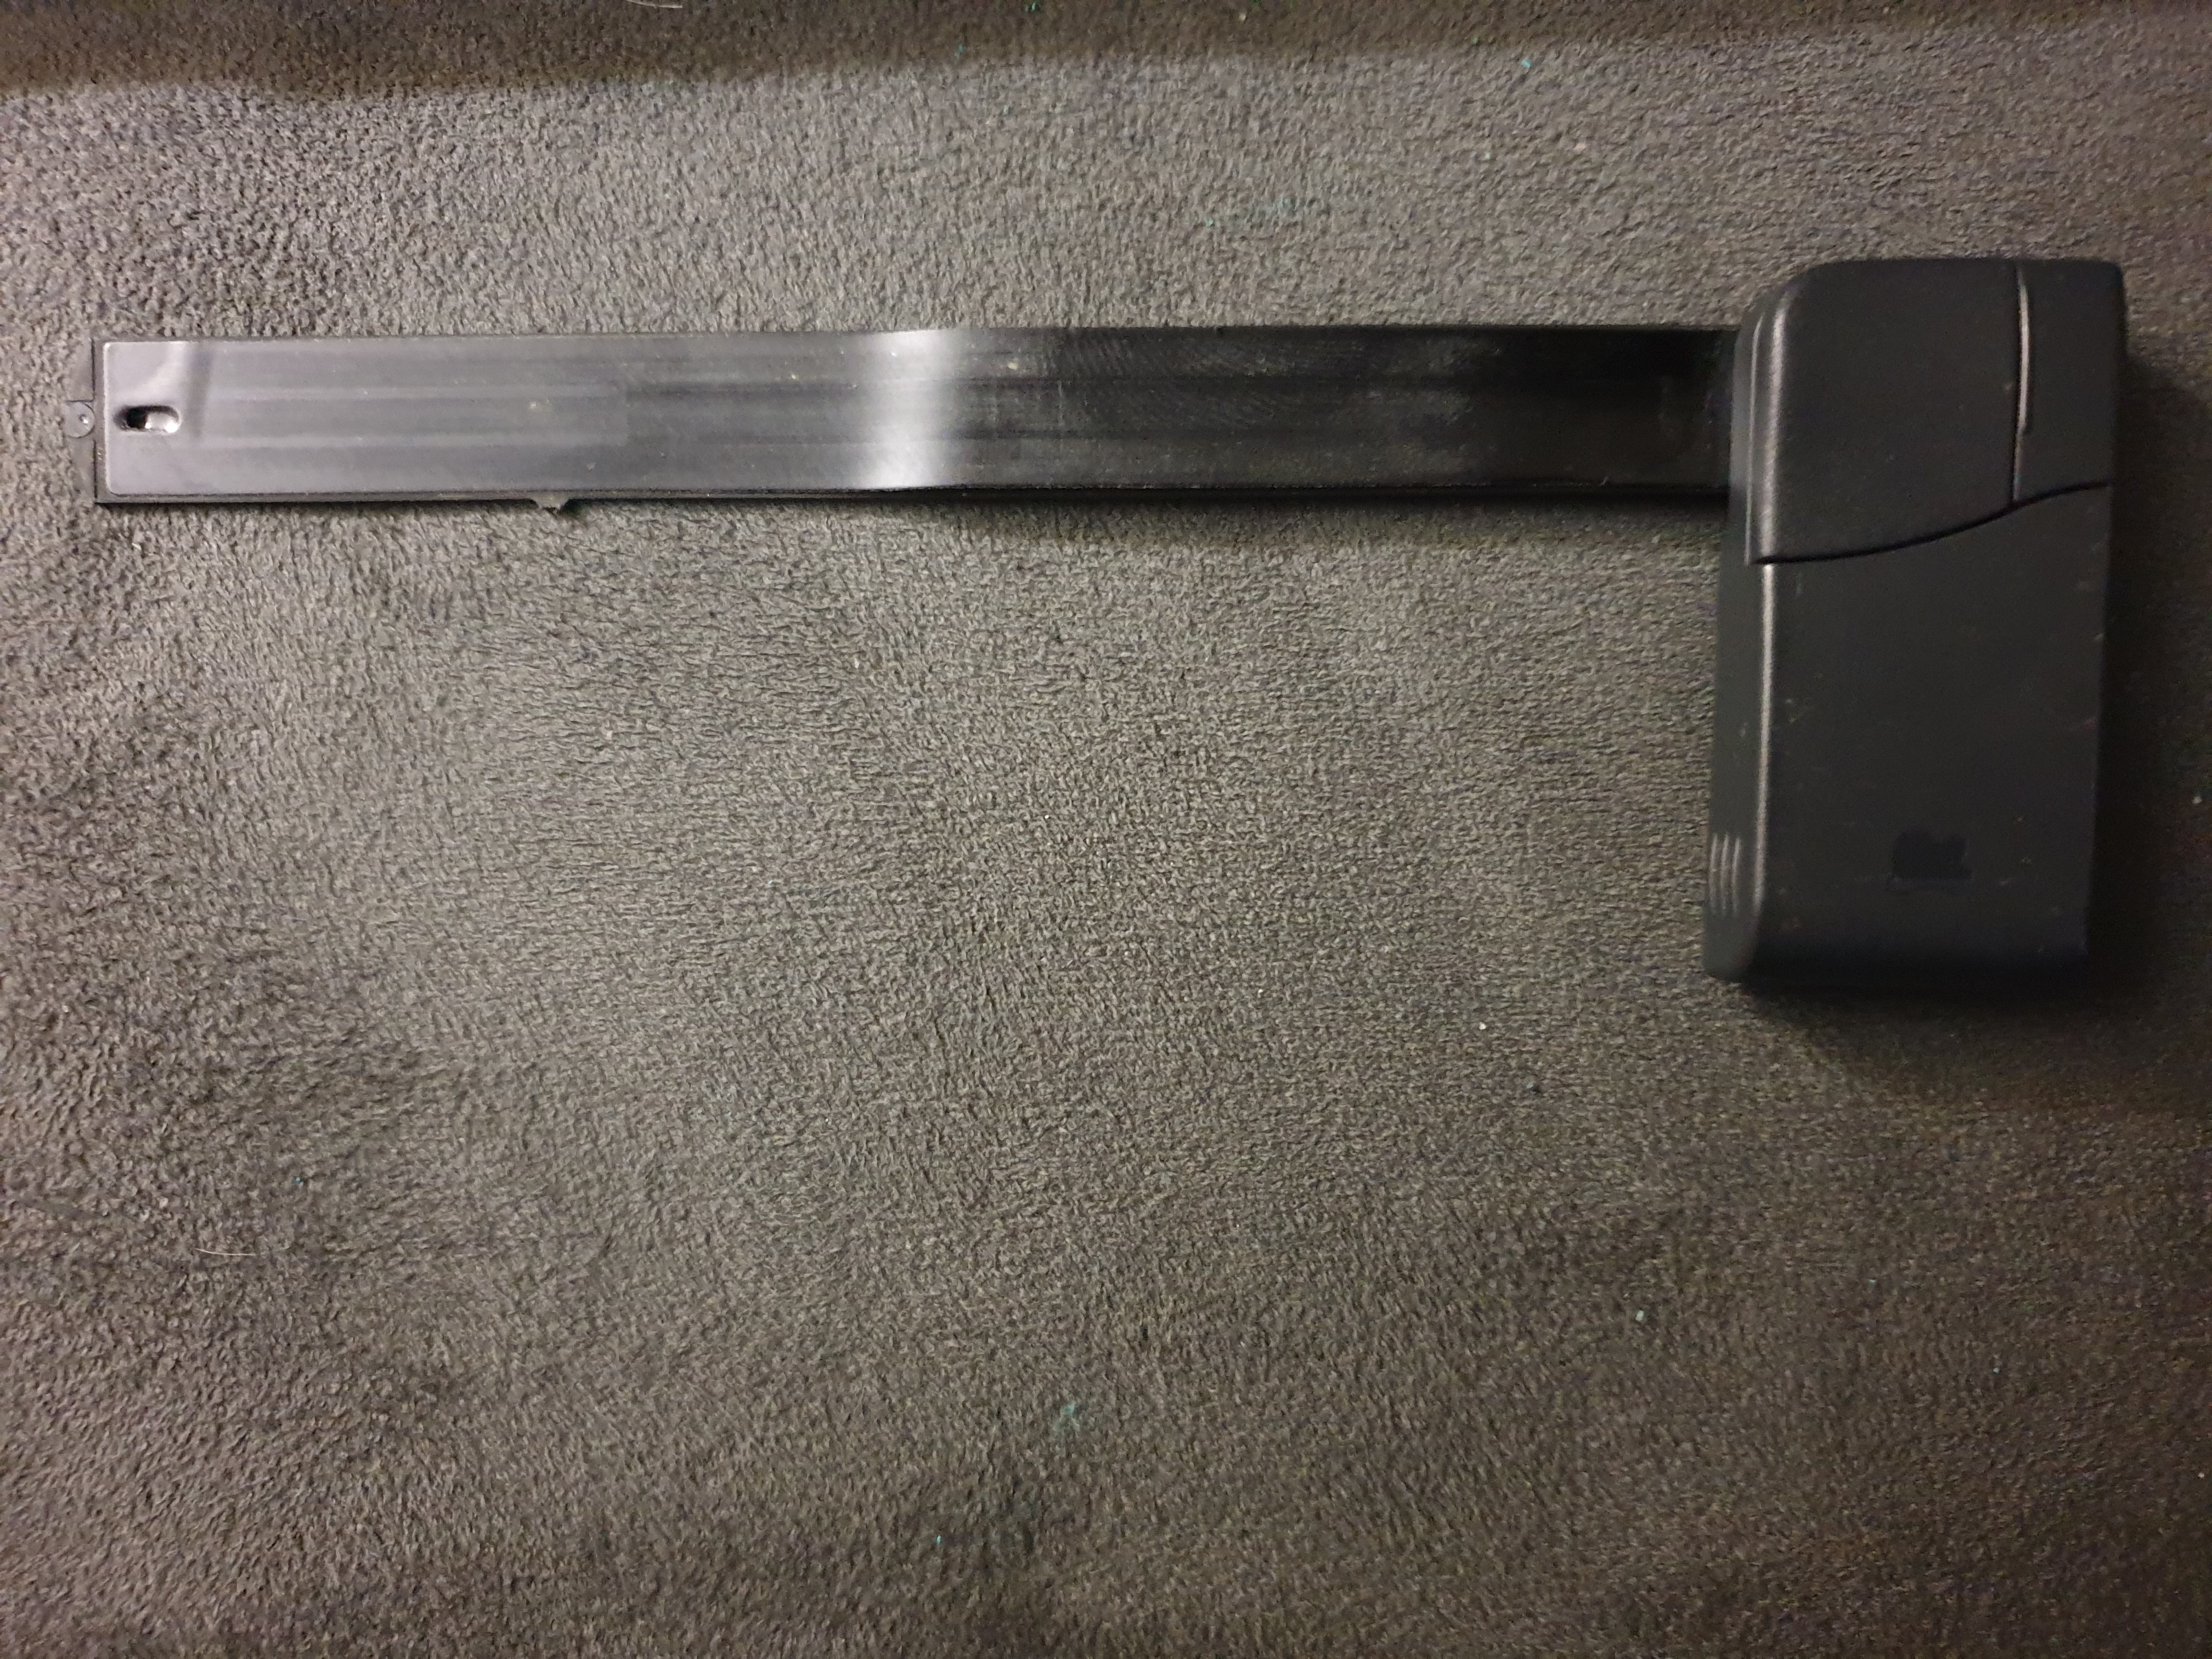


(Left): The pop-up mouse, removed from the computer, and (Right): the mouse house with case screw underneath
Now to remove the keyboard. Using a plastic prying tool, slide it down just above the F8 key and lever toward the screen. This will pop the keyboard out (it will flex a bit before giving way). Continue to pry along the top of the keyboard to unclip the rest of the top of the keyboard. Once the top is free, slide the keyboard up toward the screen and hinge it back to reveal the two ribbon cables.
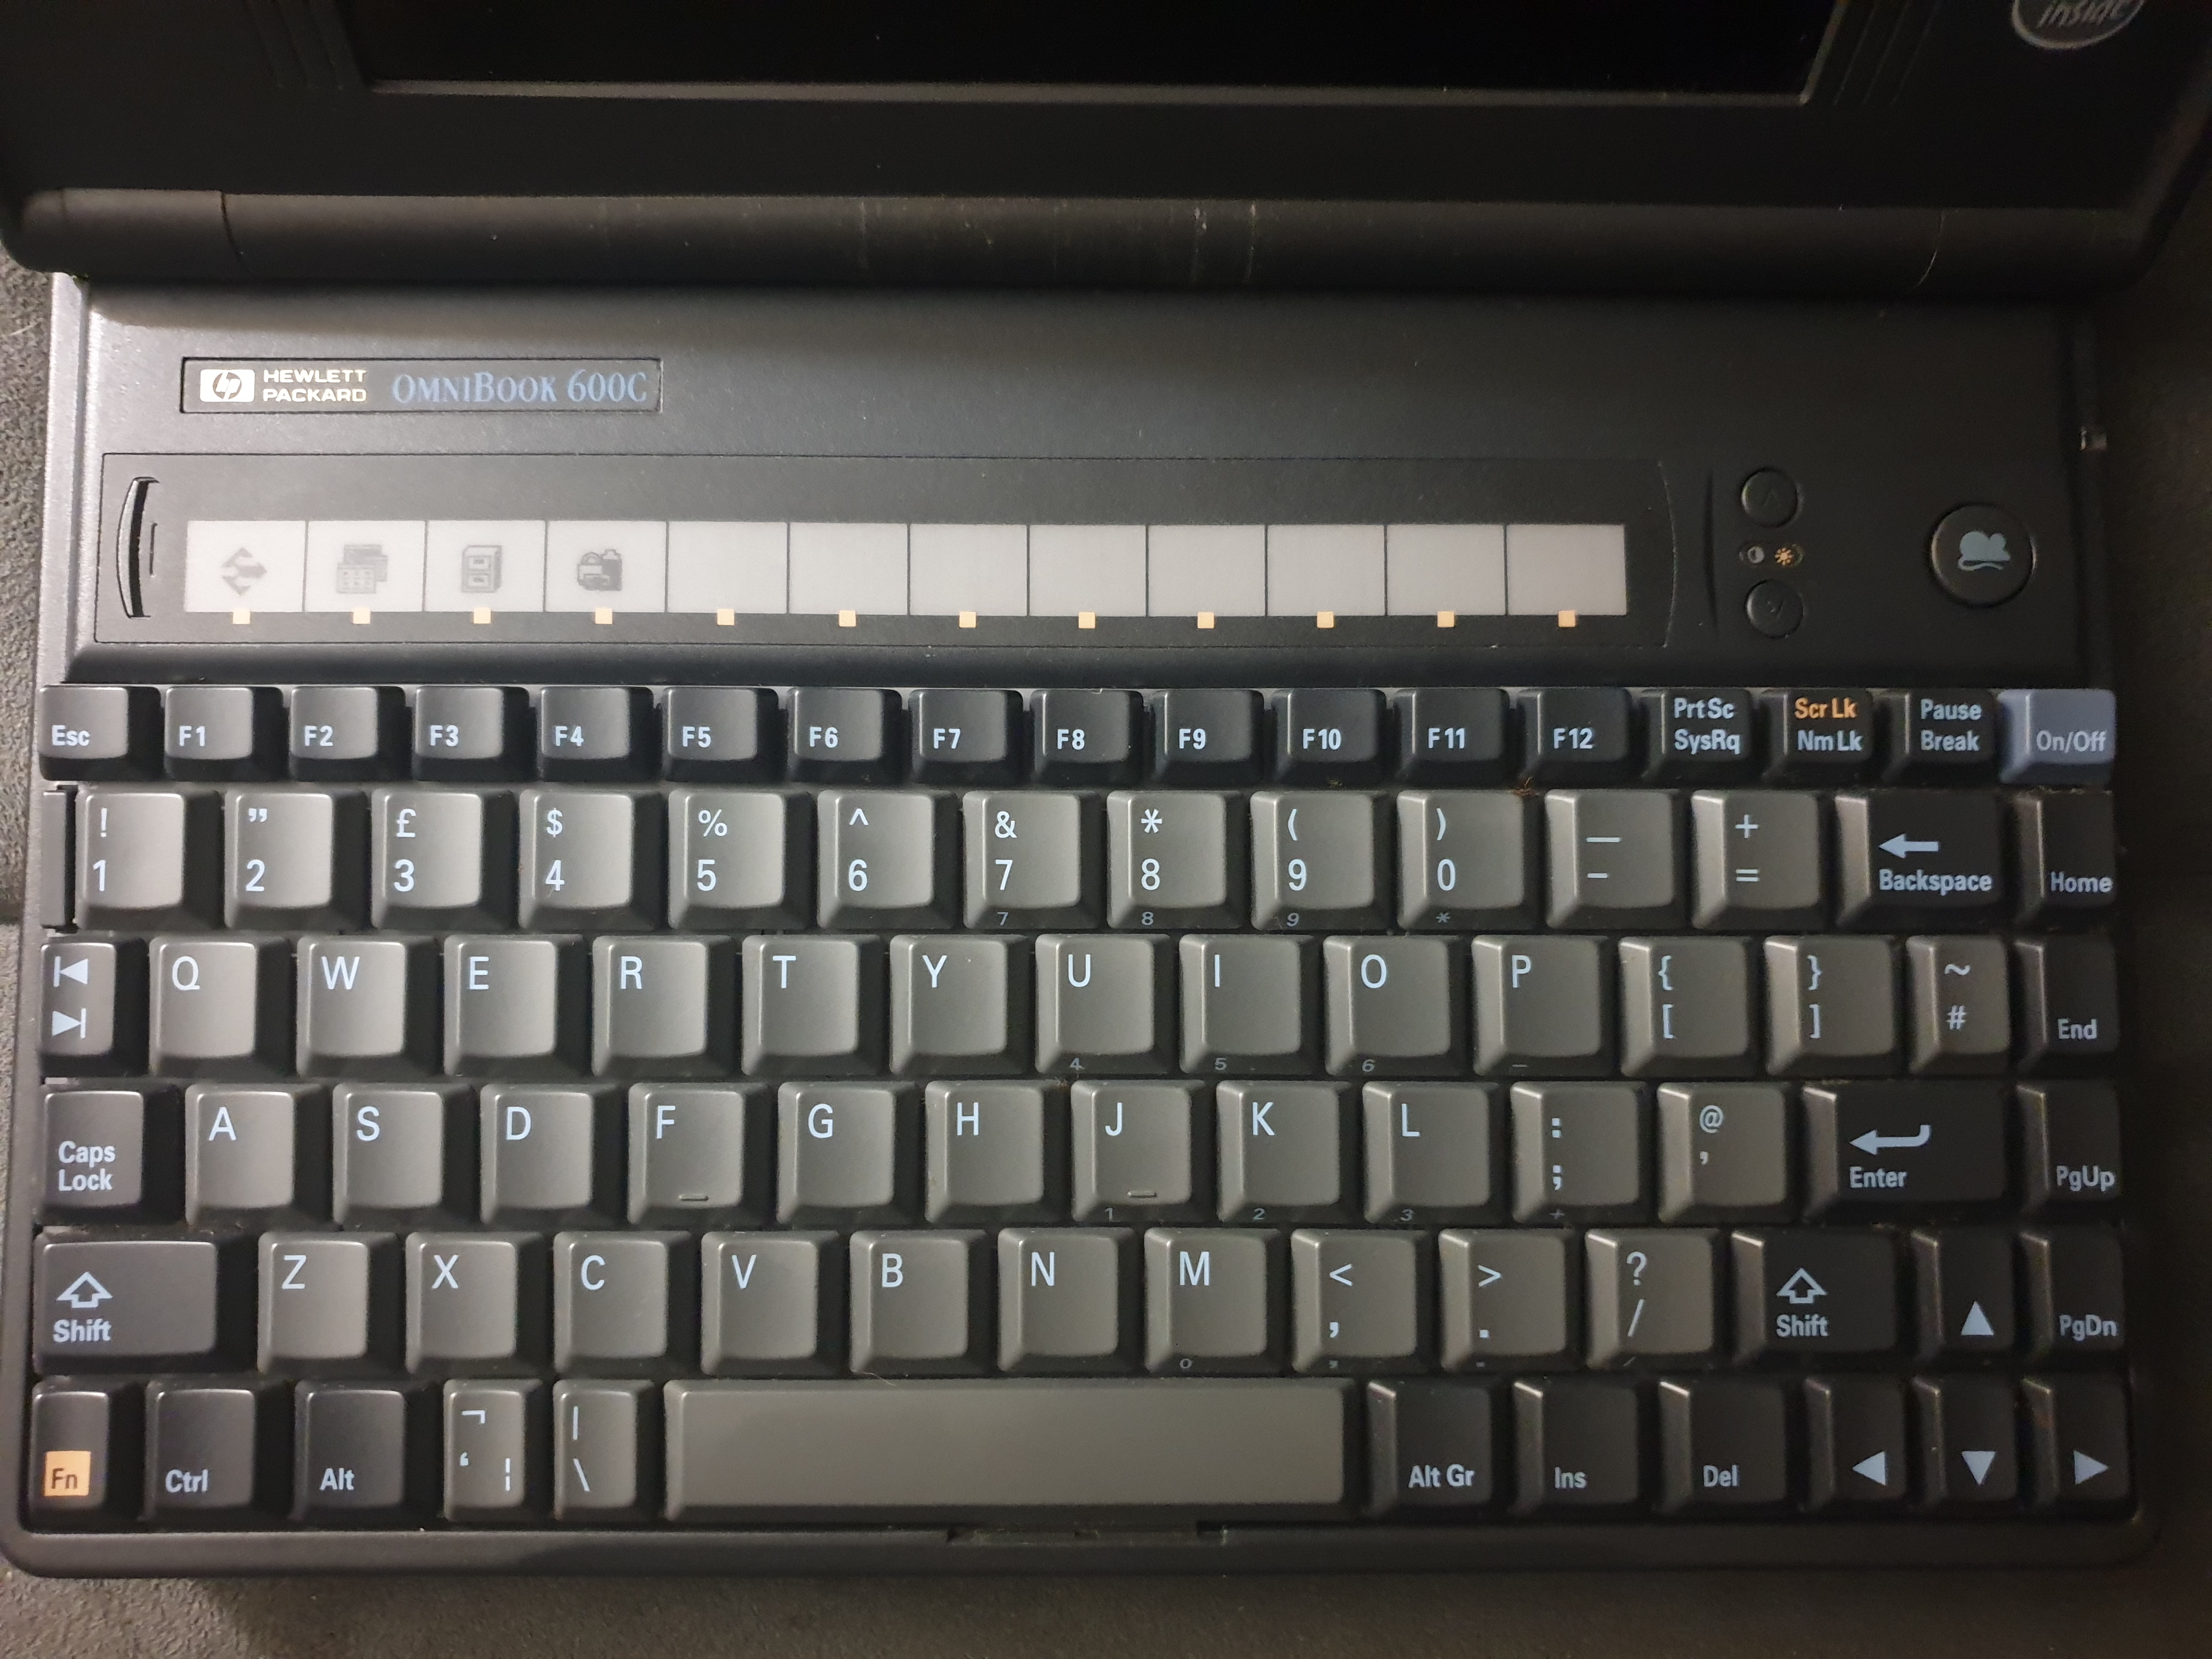
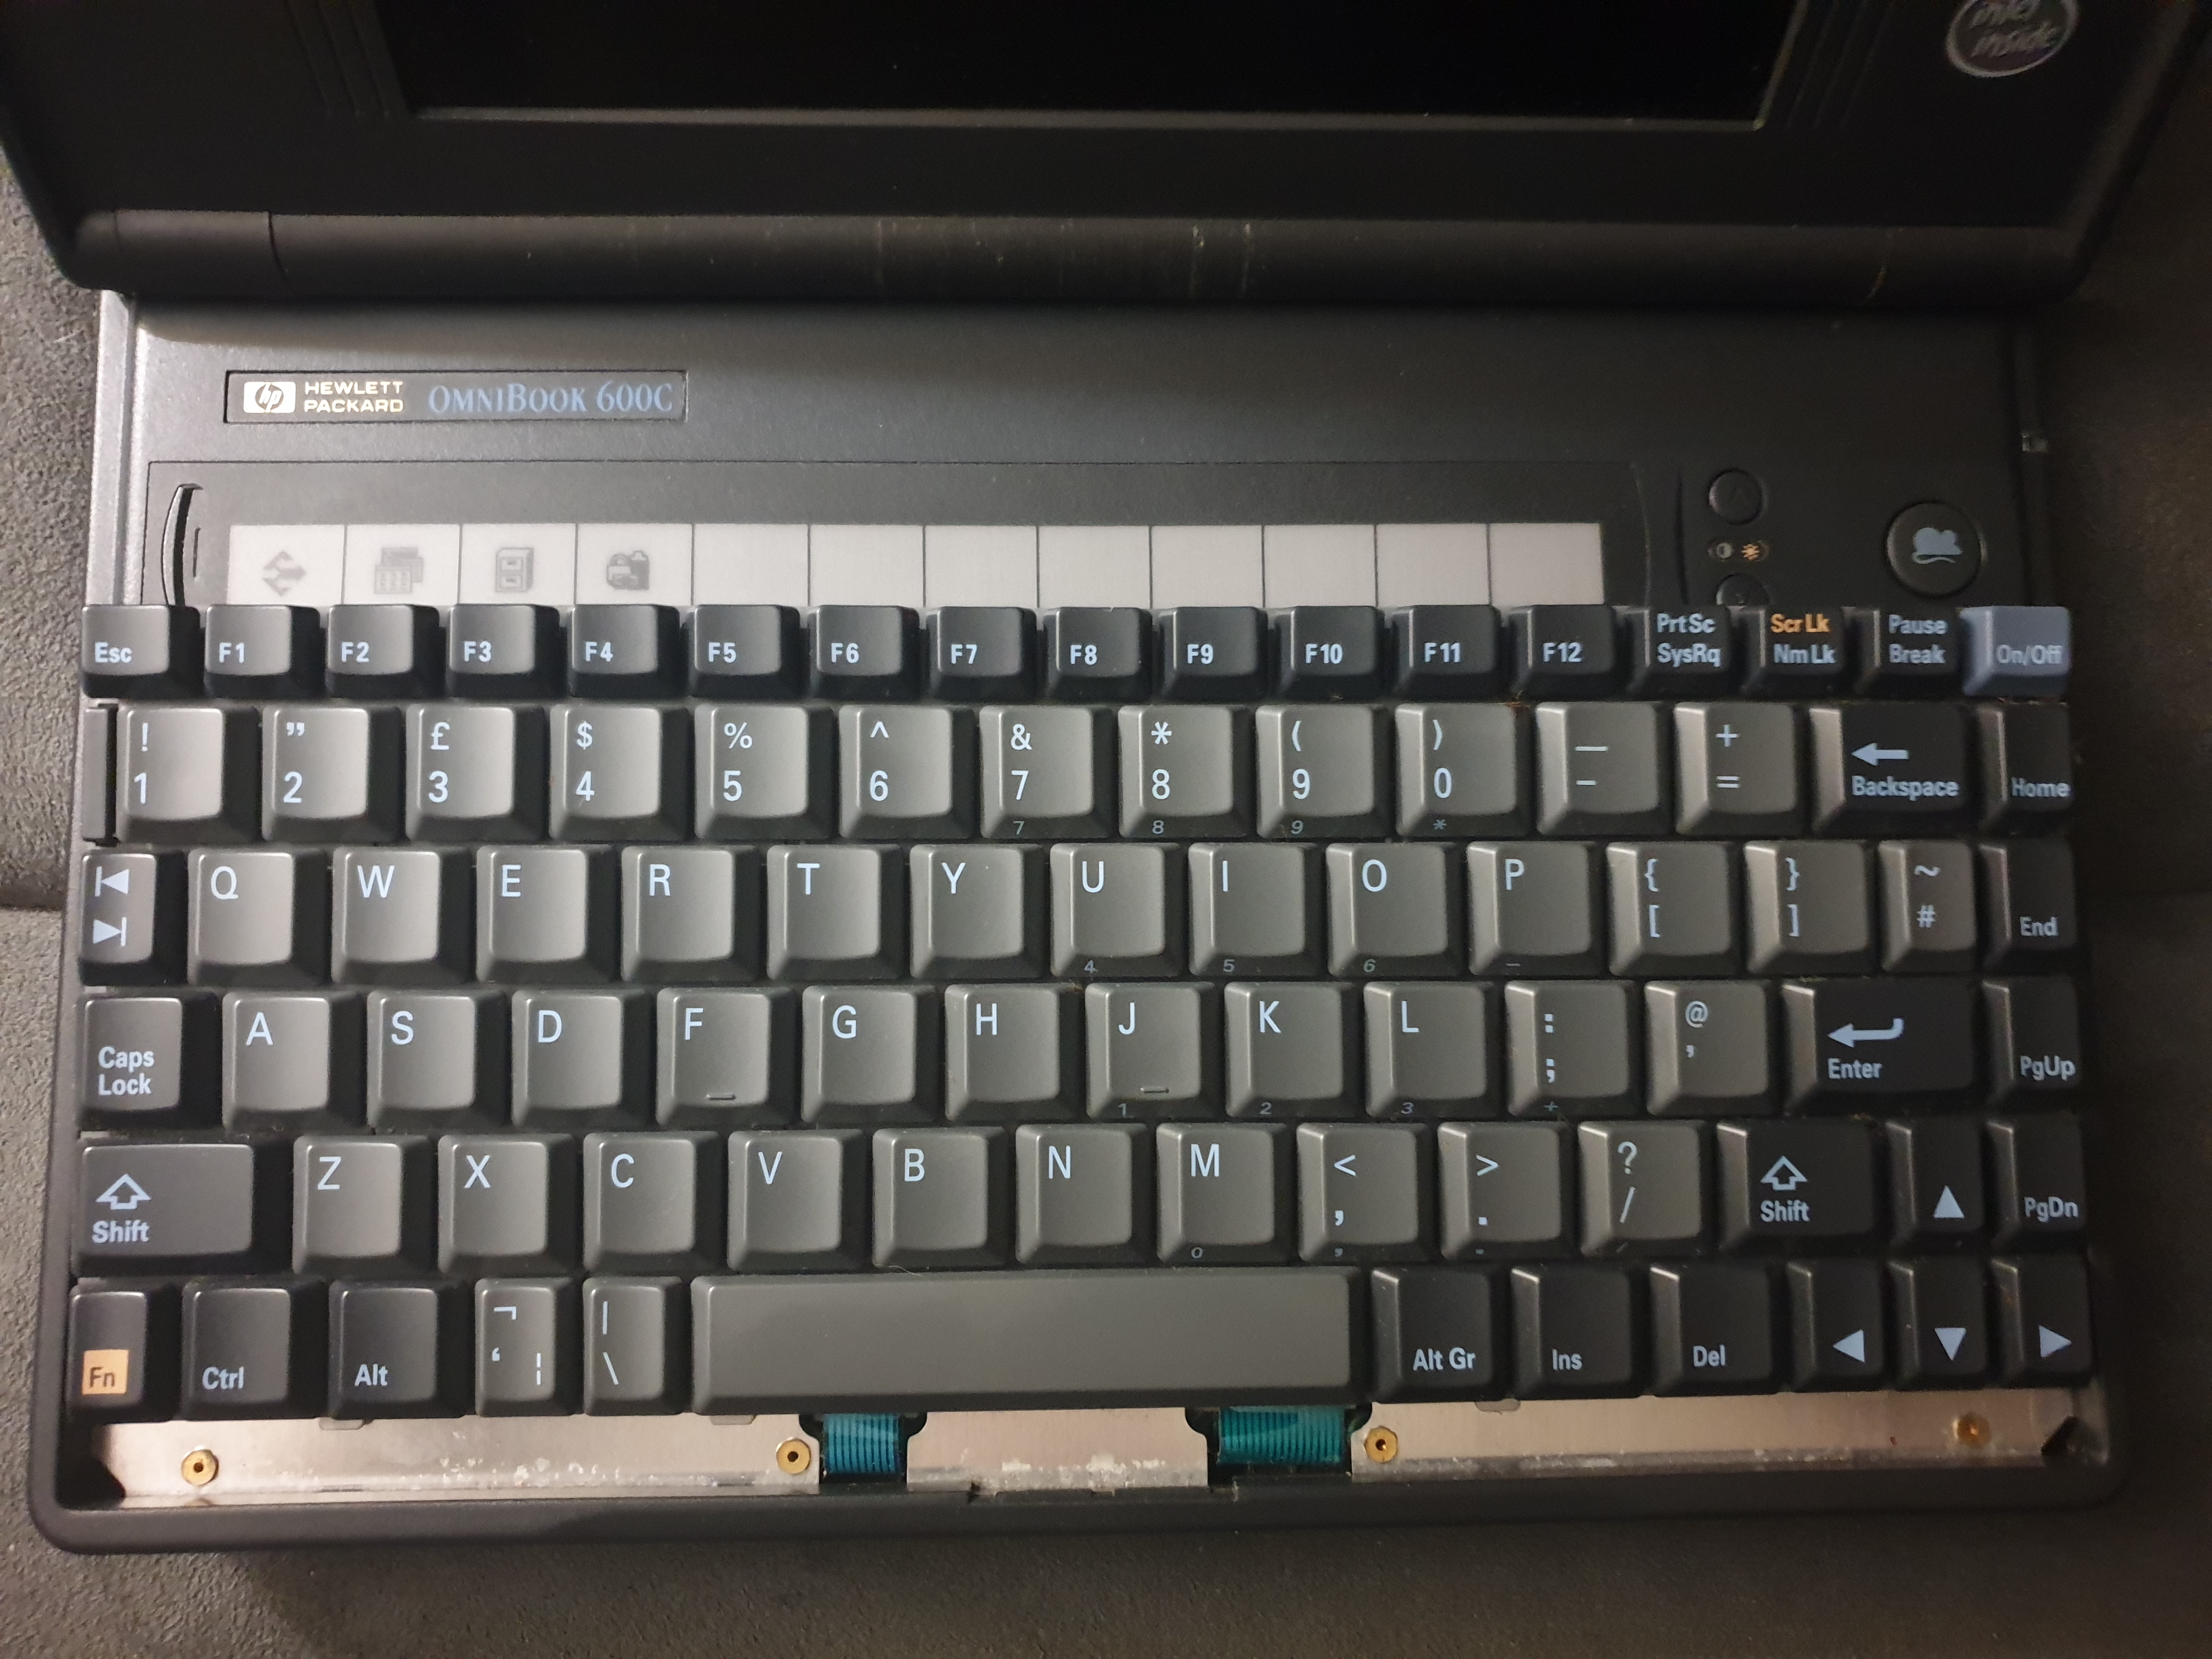
(Left): The top of the keyboard pried away, and (Right):keyboard slid toward the screen
To detach the ribbon cables, use a flat-bladed screwdriver on each side where there is a plastic sleeve - lever each side of the sleeve toward the bottom and the ribbon cable should then be able to slide out. The sleeve of the larger cable actually came away fully when I did it, so I'll need to put that back in before I reassemble.
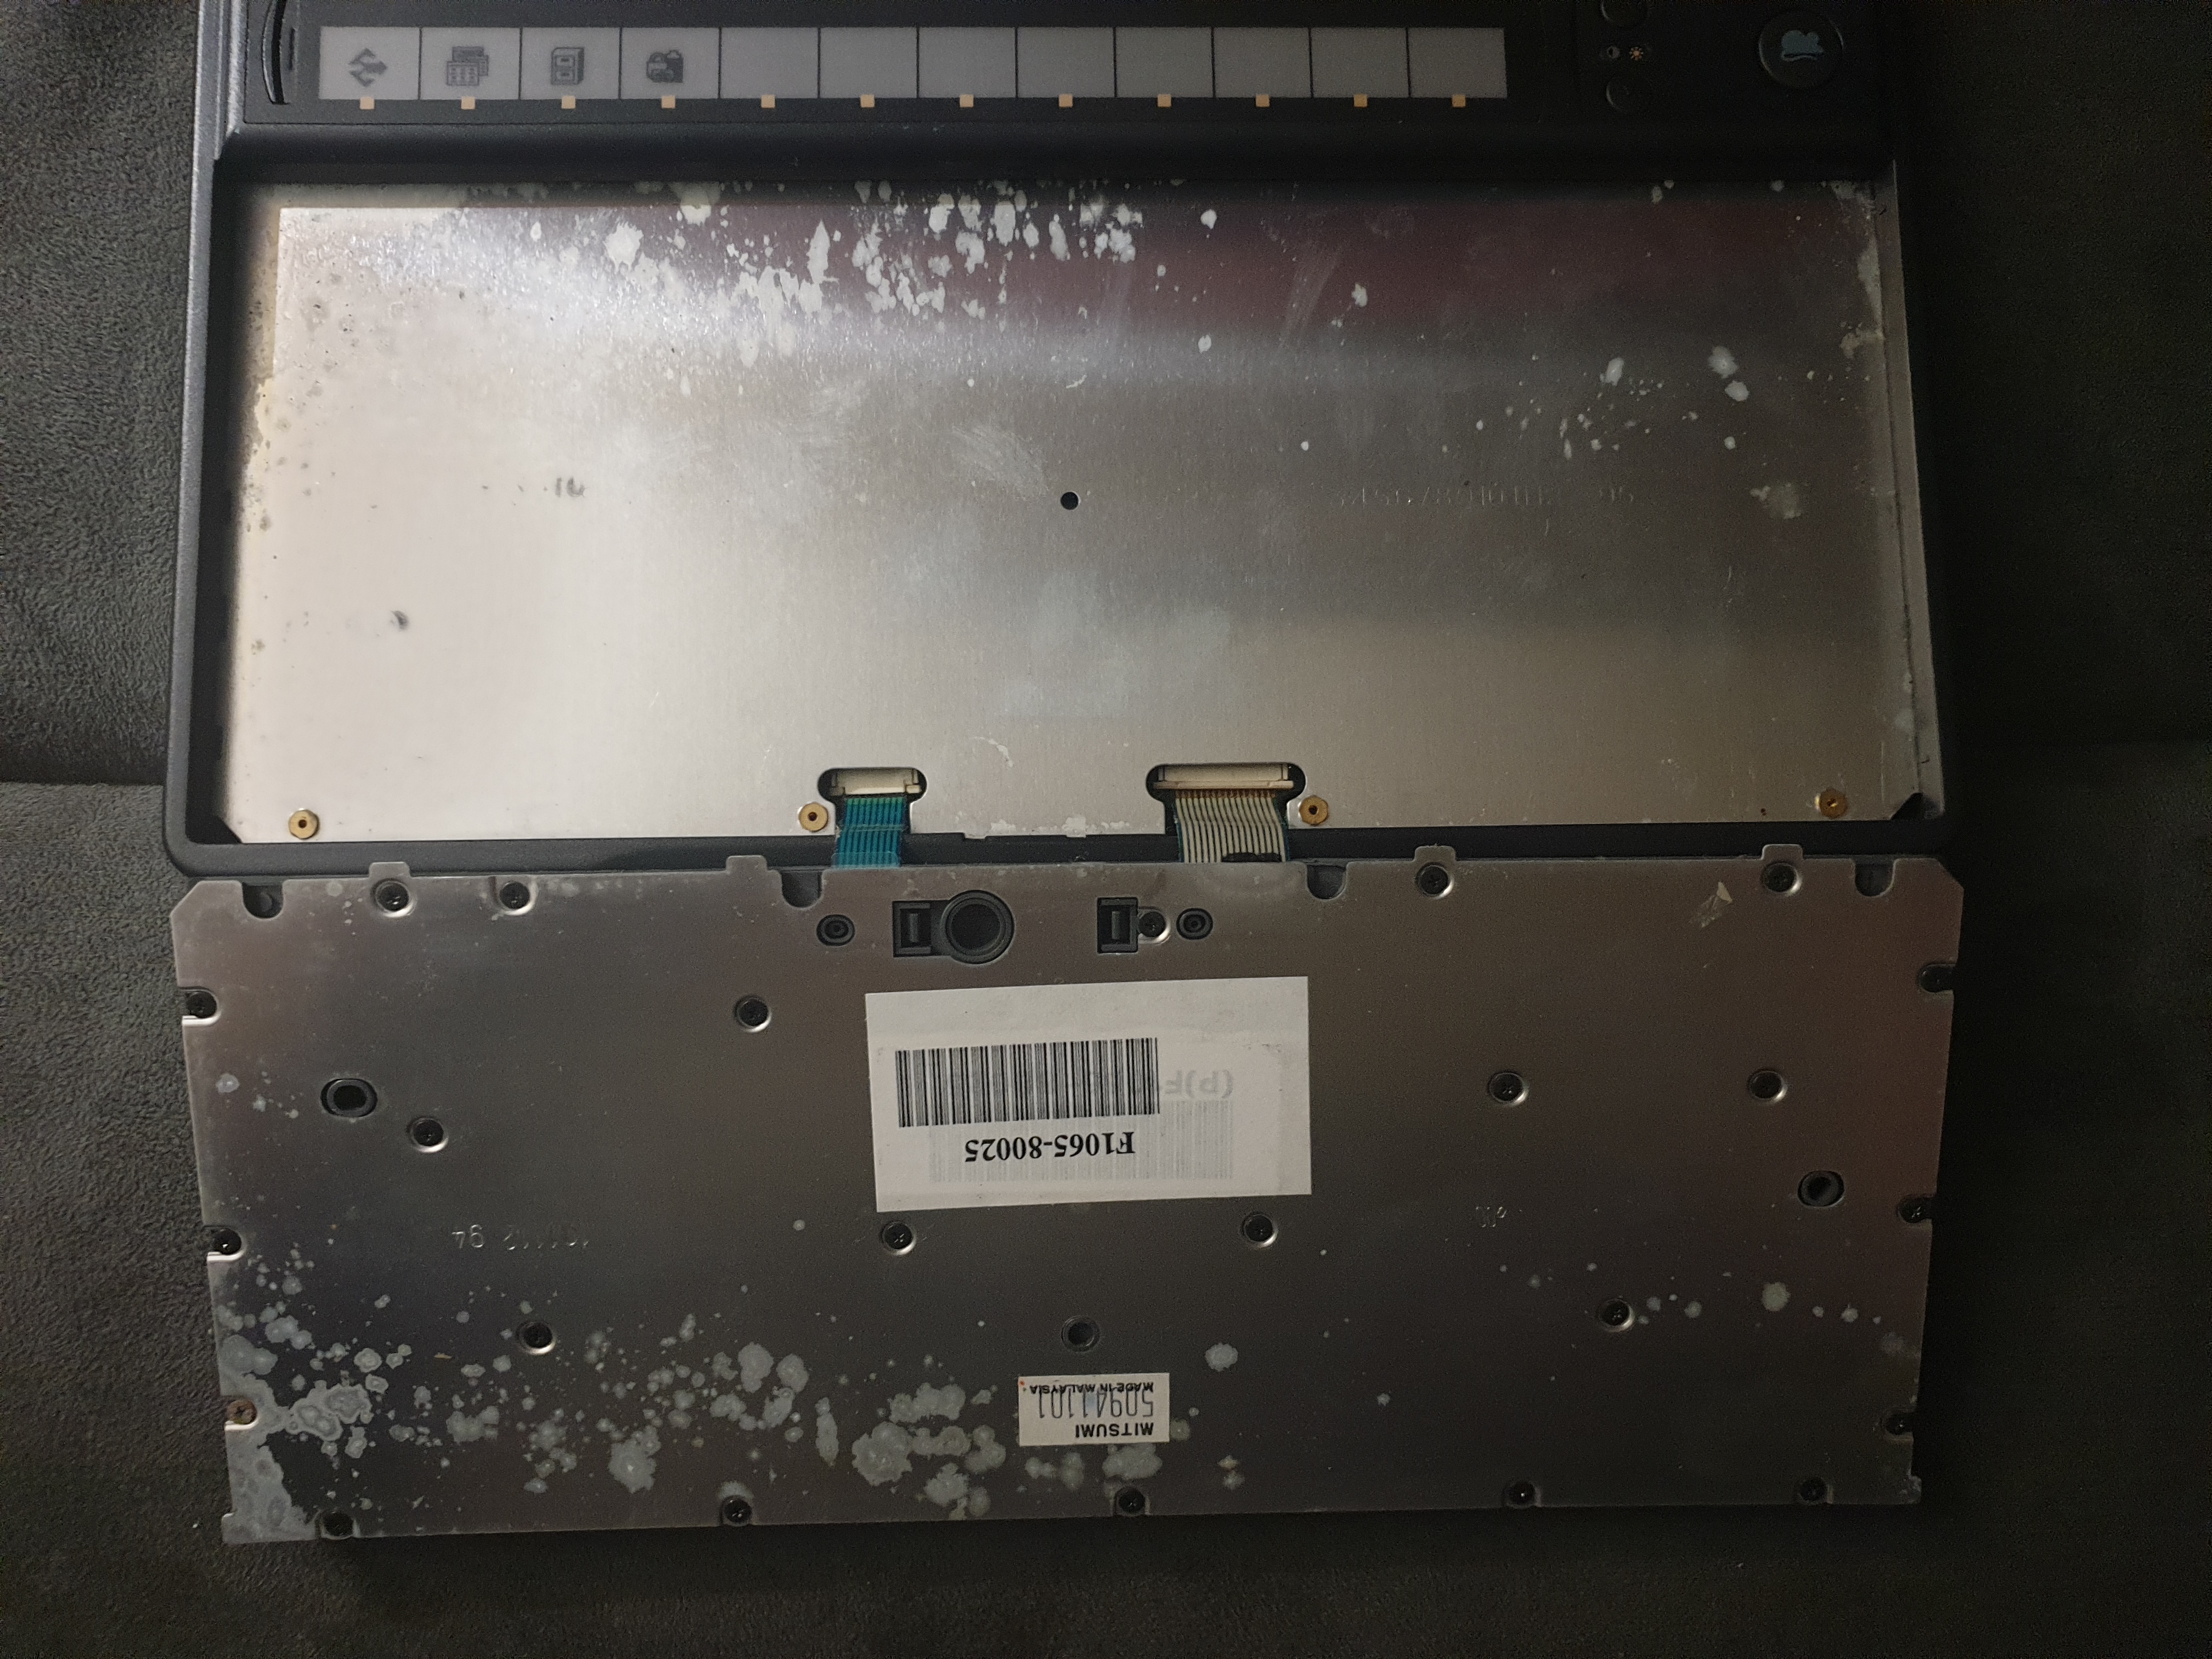
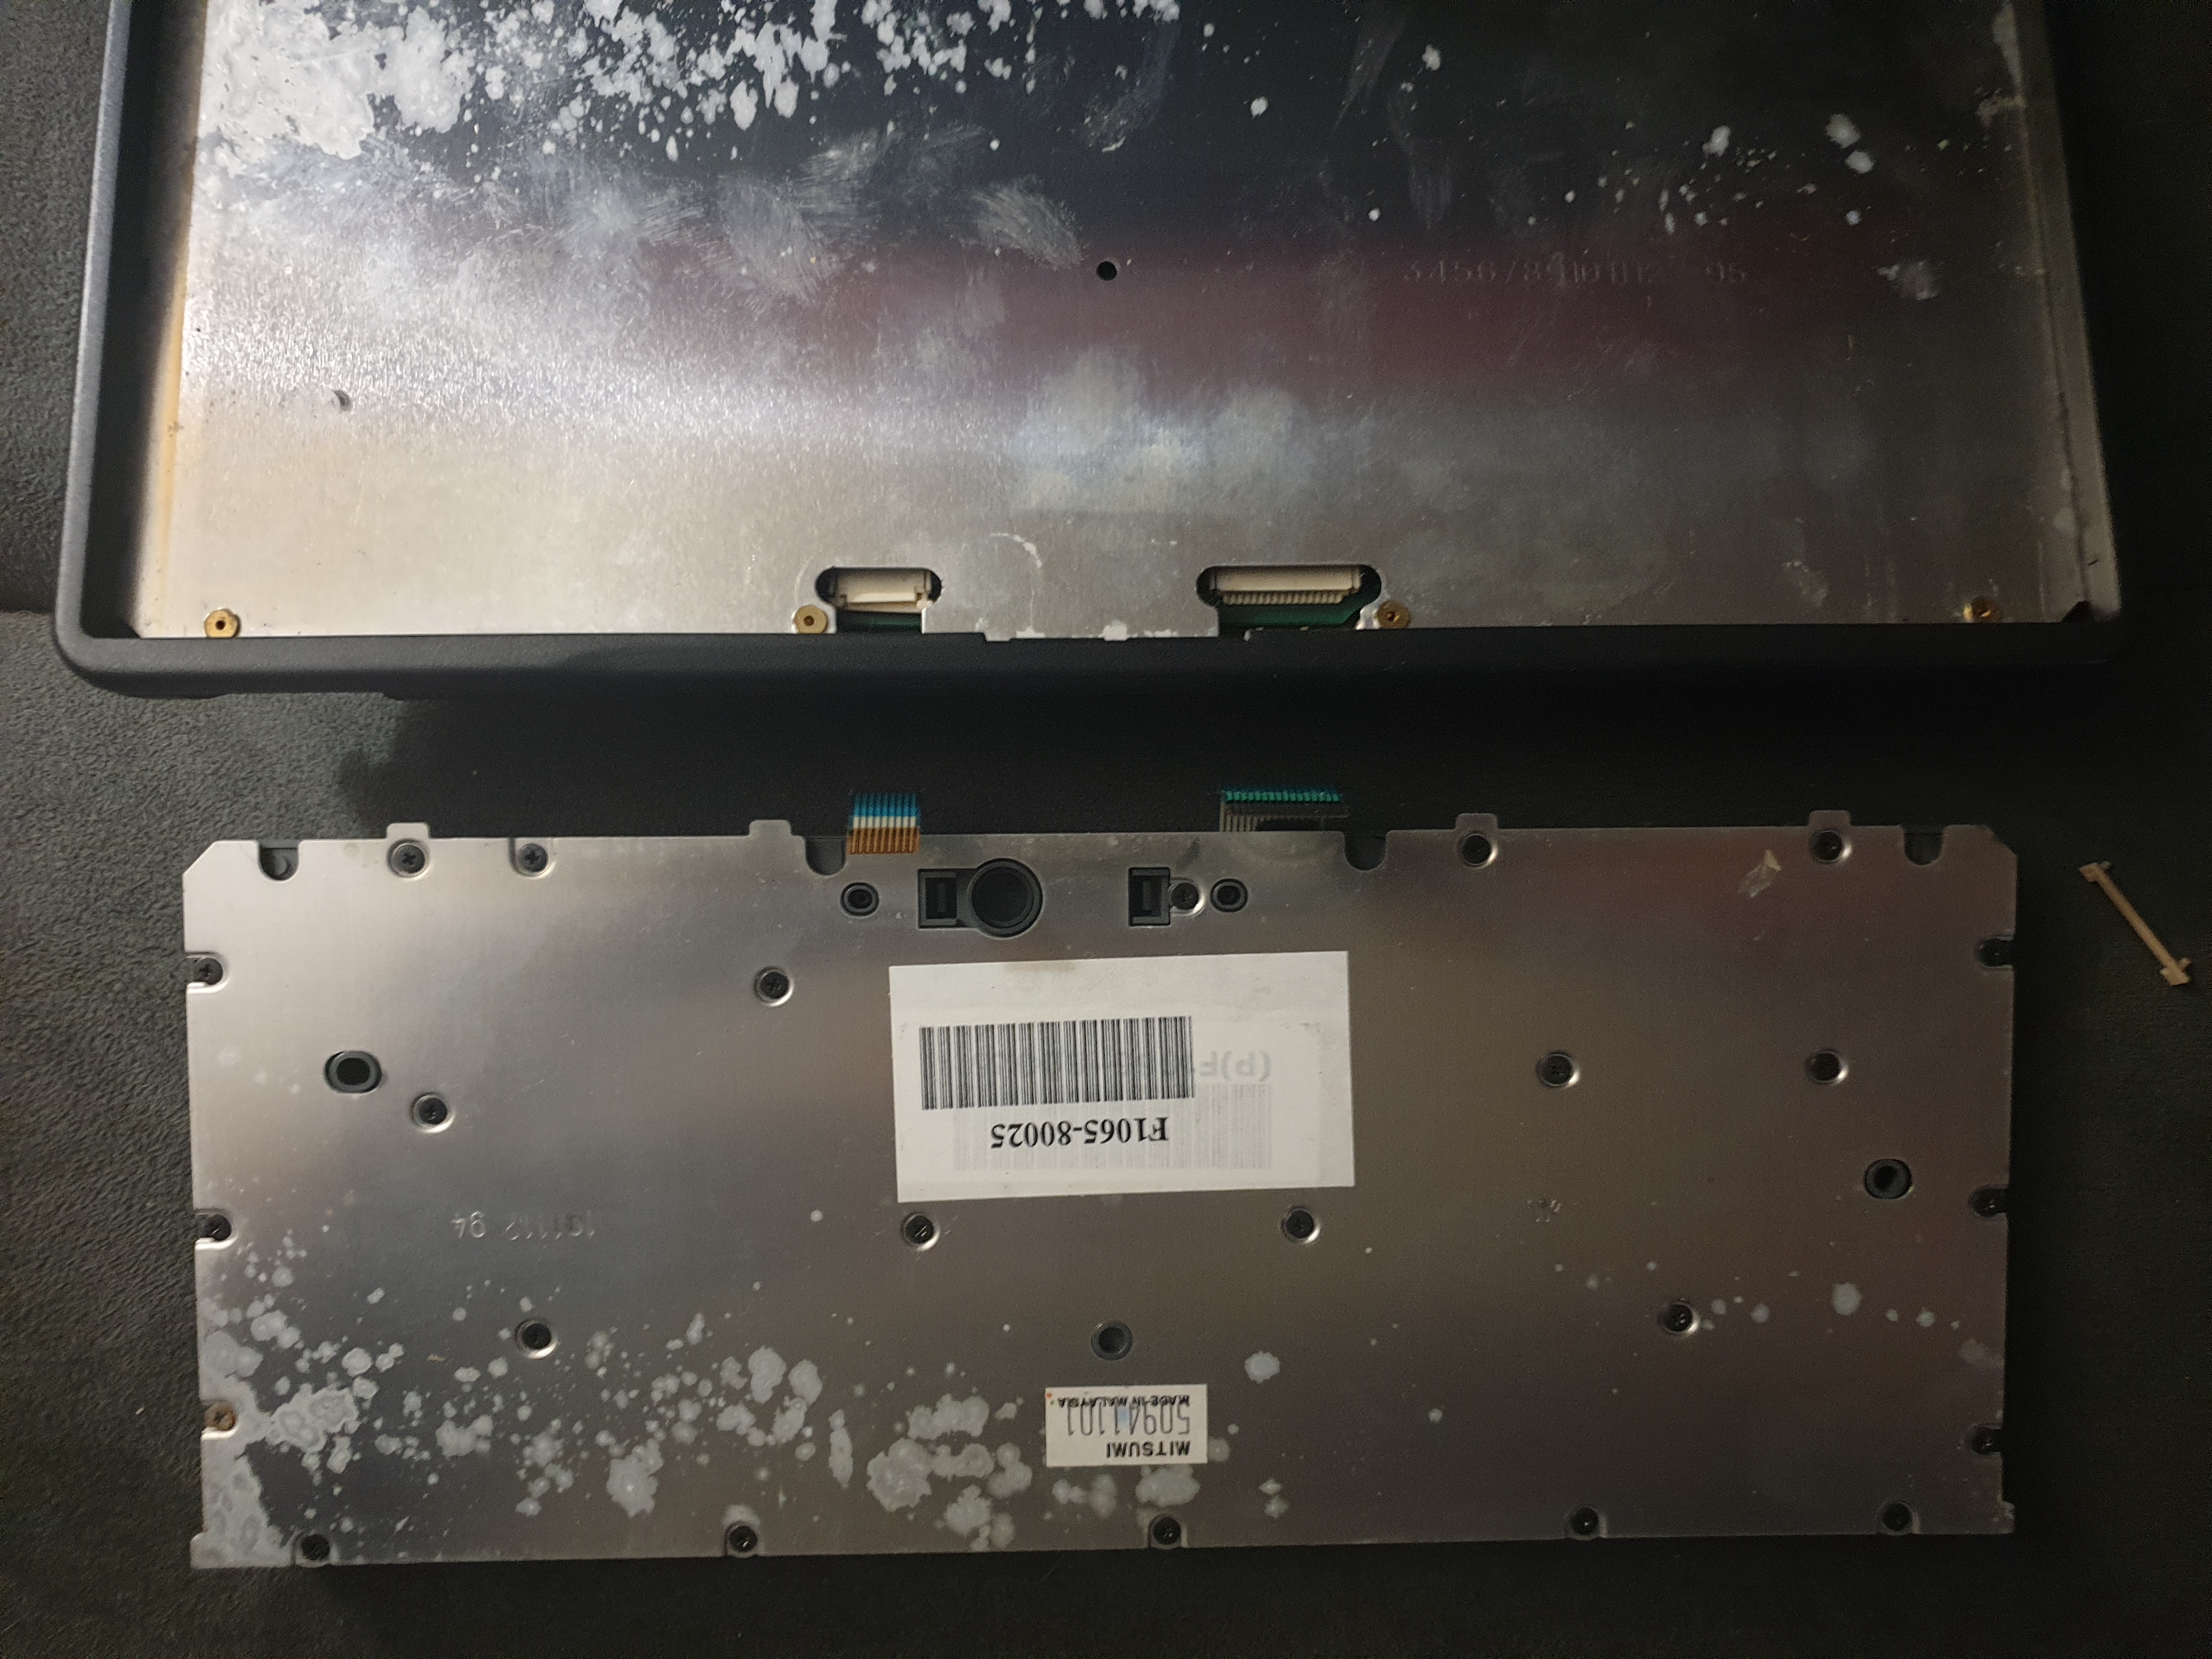
(Left): Keyboard hinged forward to show ribbon cables, and (Right): Ribbon cables detached
The next task is to remove the entire bottom cover. To do so, flip the unit over and locate the six T6 torx screws. One of mine was under a gold warranty sticker. Finally there is a Philips screw in the mouse house - remove this, and then flip the unit upright again - the mouse eject button and its tiny spring can easily fall out if you don't do this. Now lift the top half up (there may be a bit of resistance, so go around the edges just above the PCMCIA slot, the mouse house, front and rear to help release it), and hinge it back to reveal the motherboard:
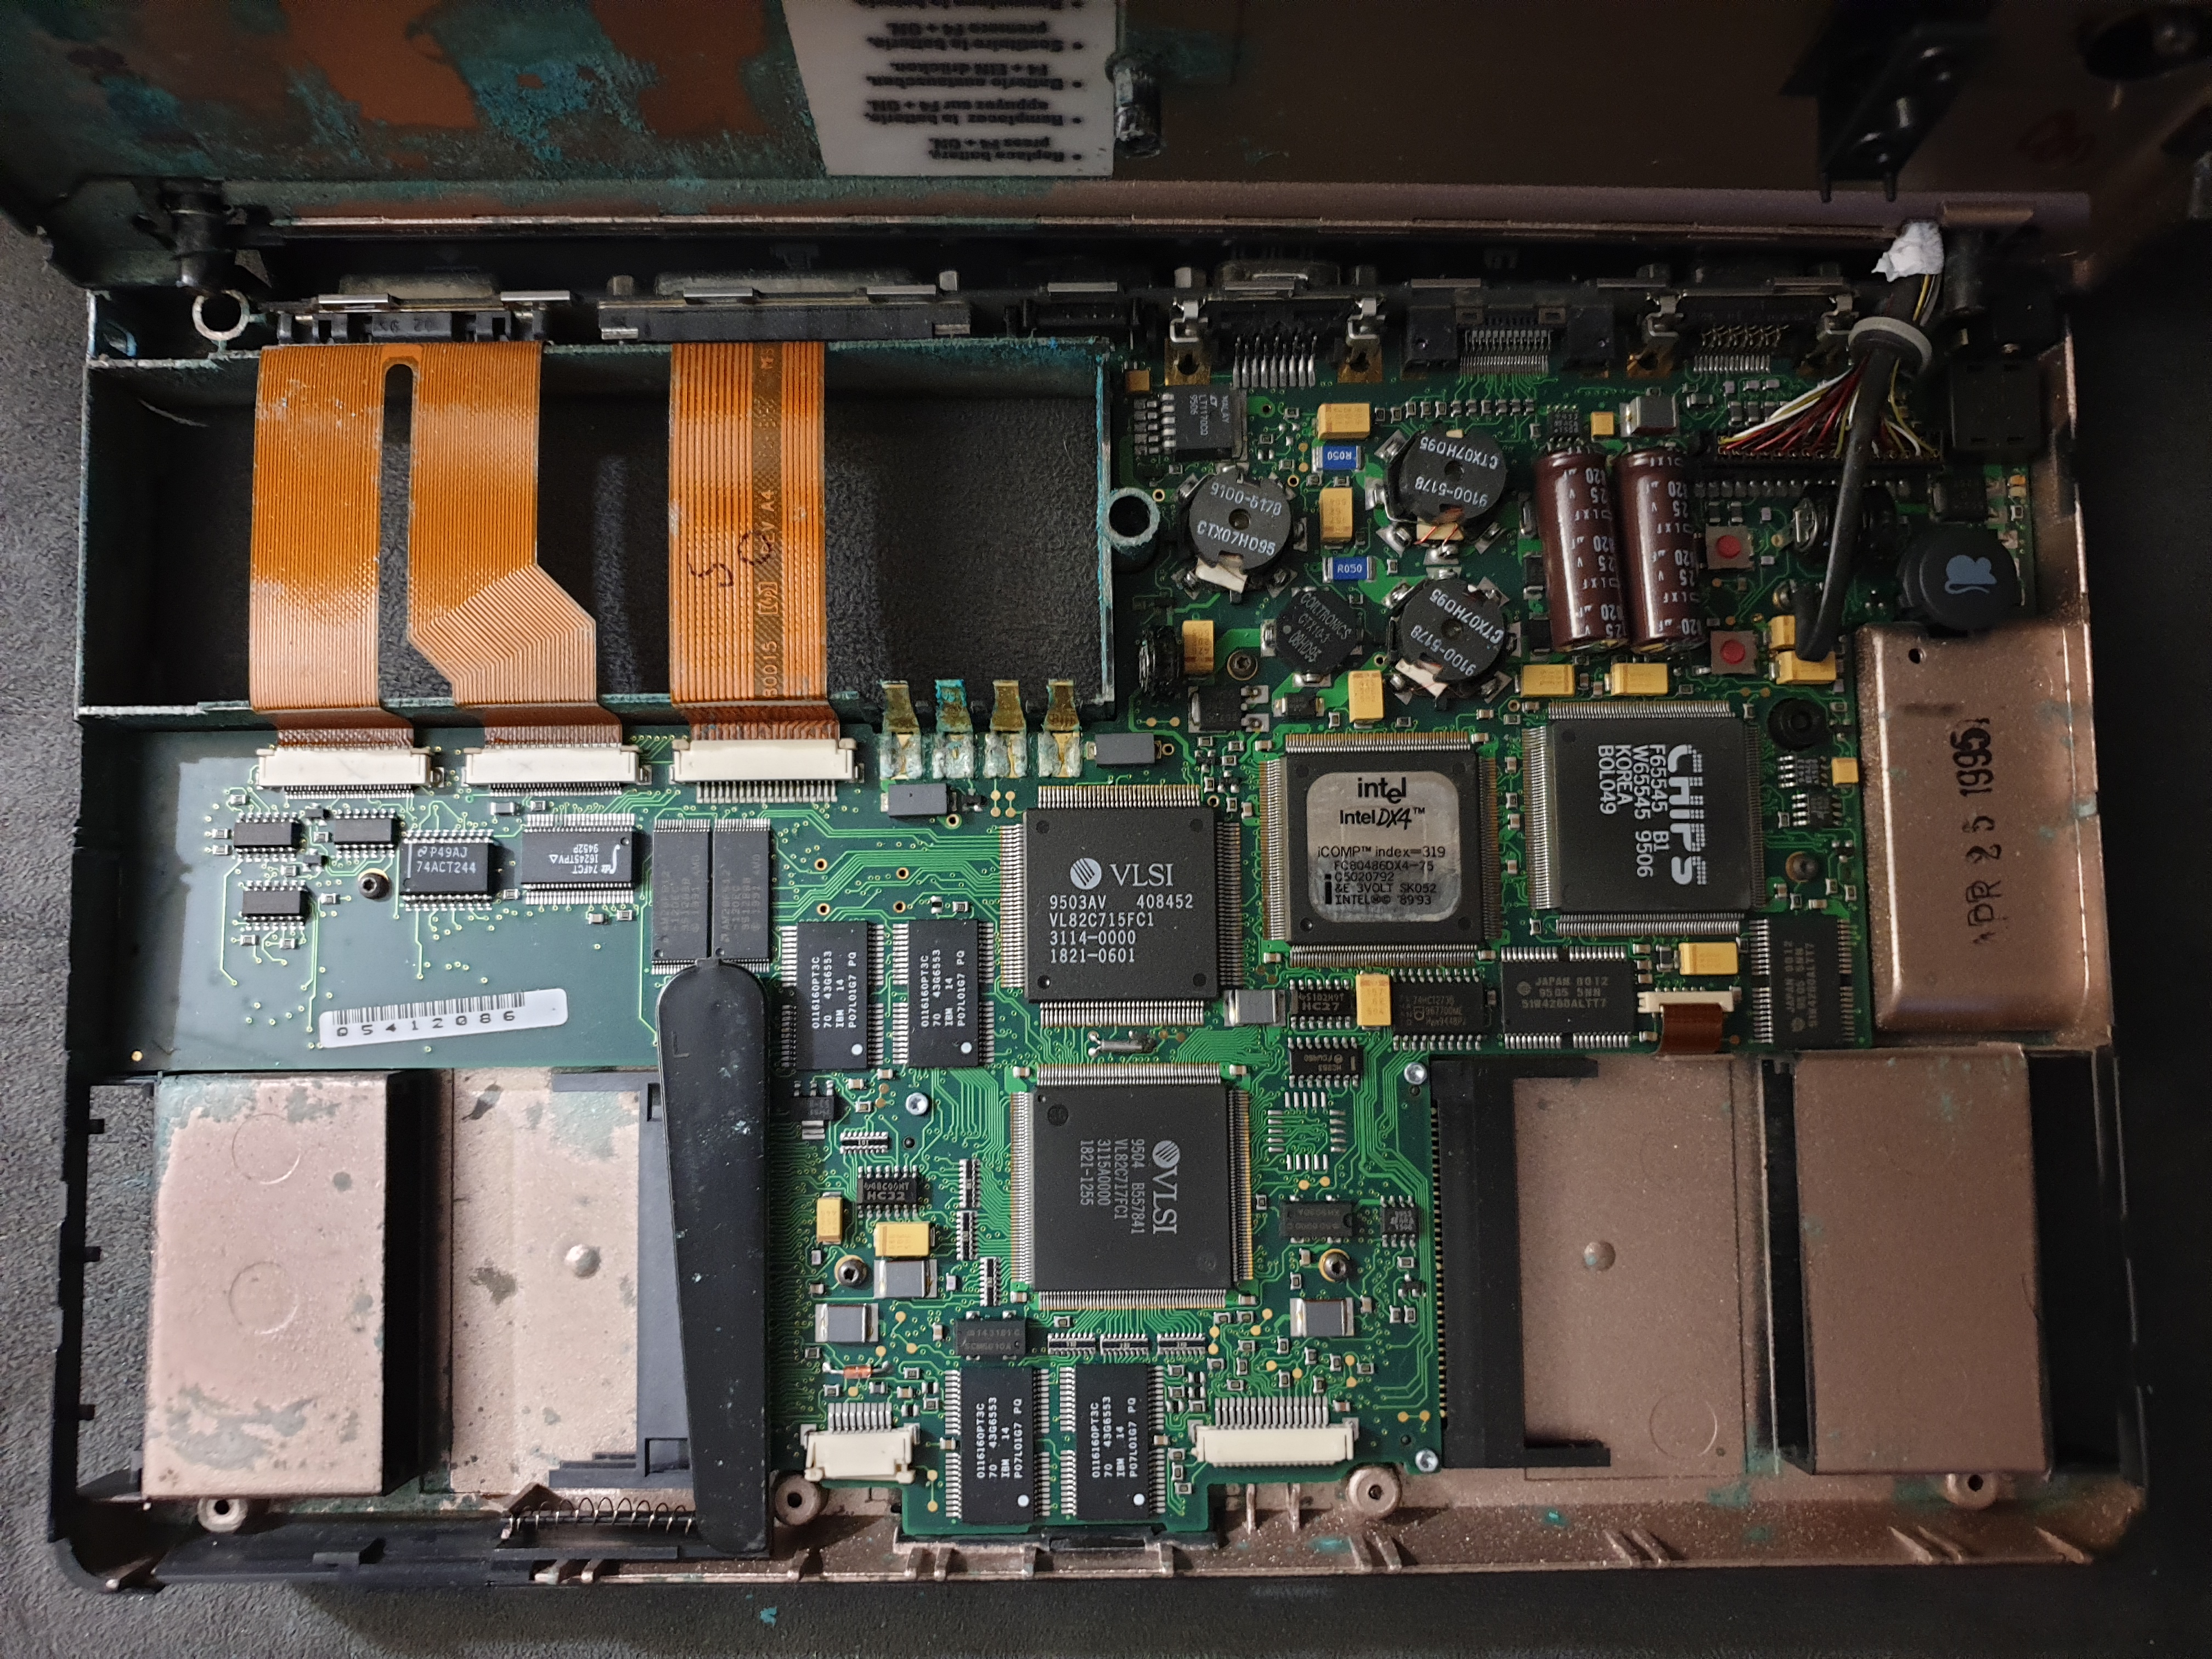
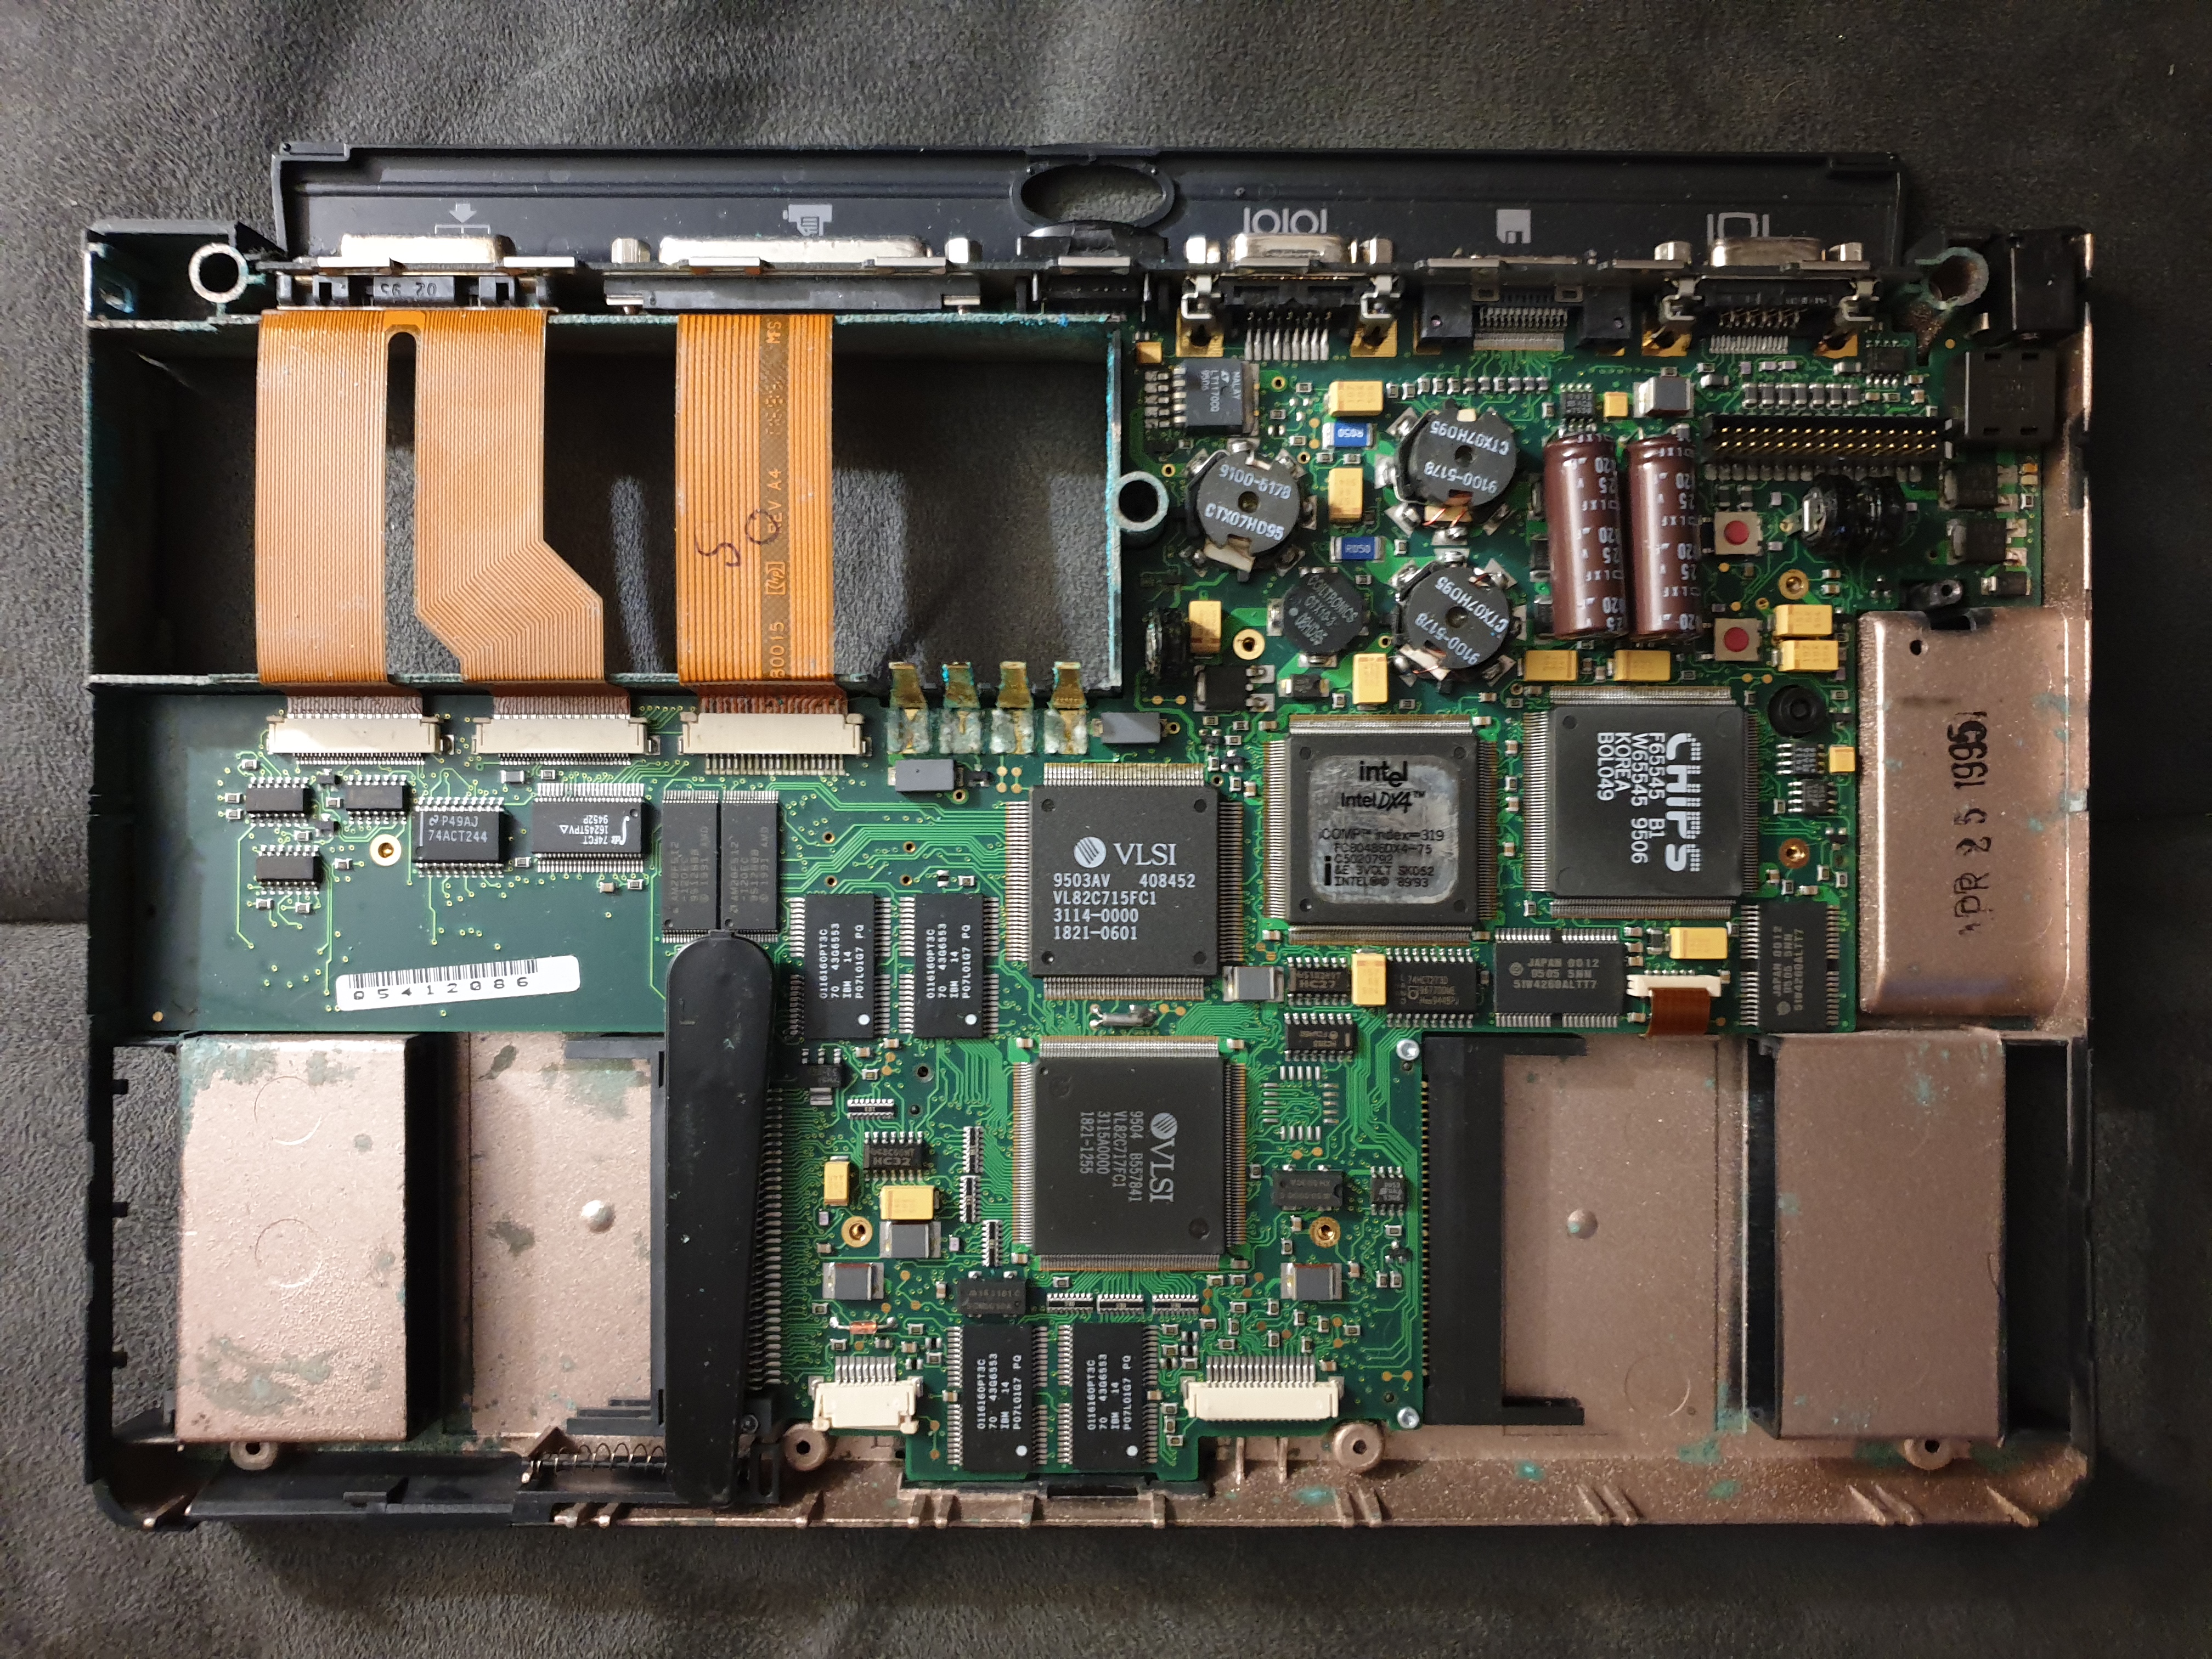
The motherboard
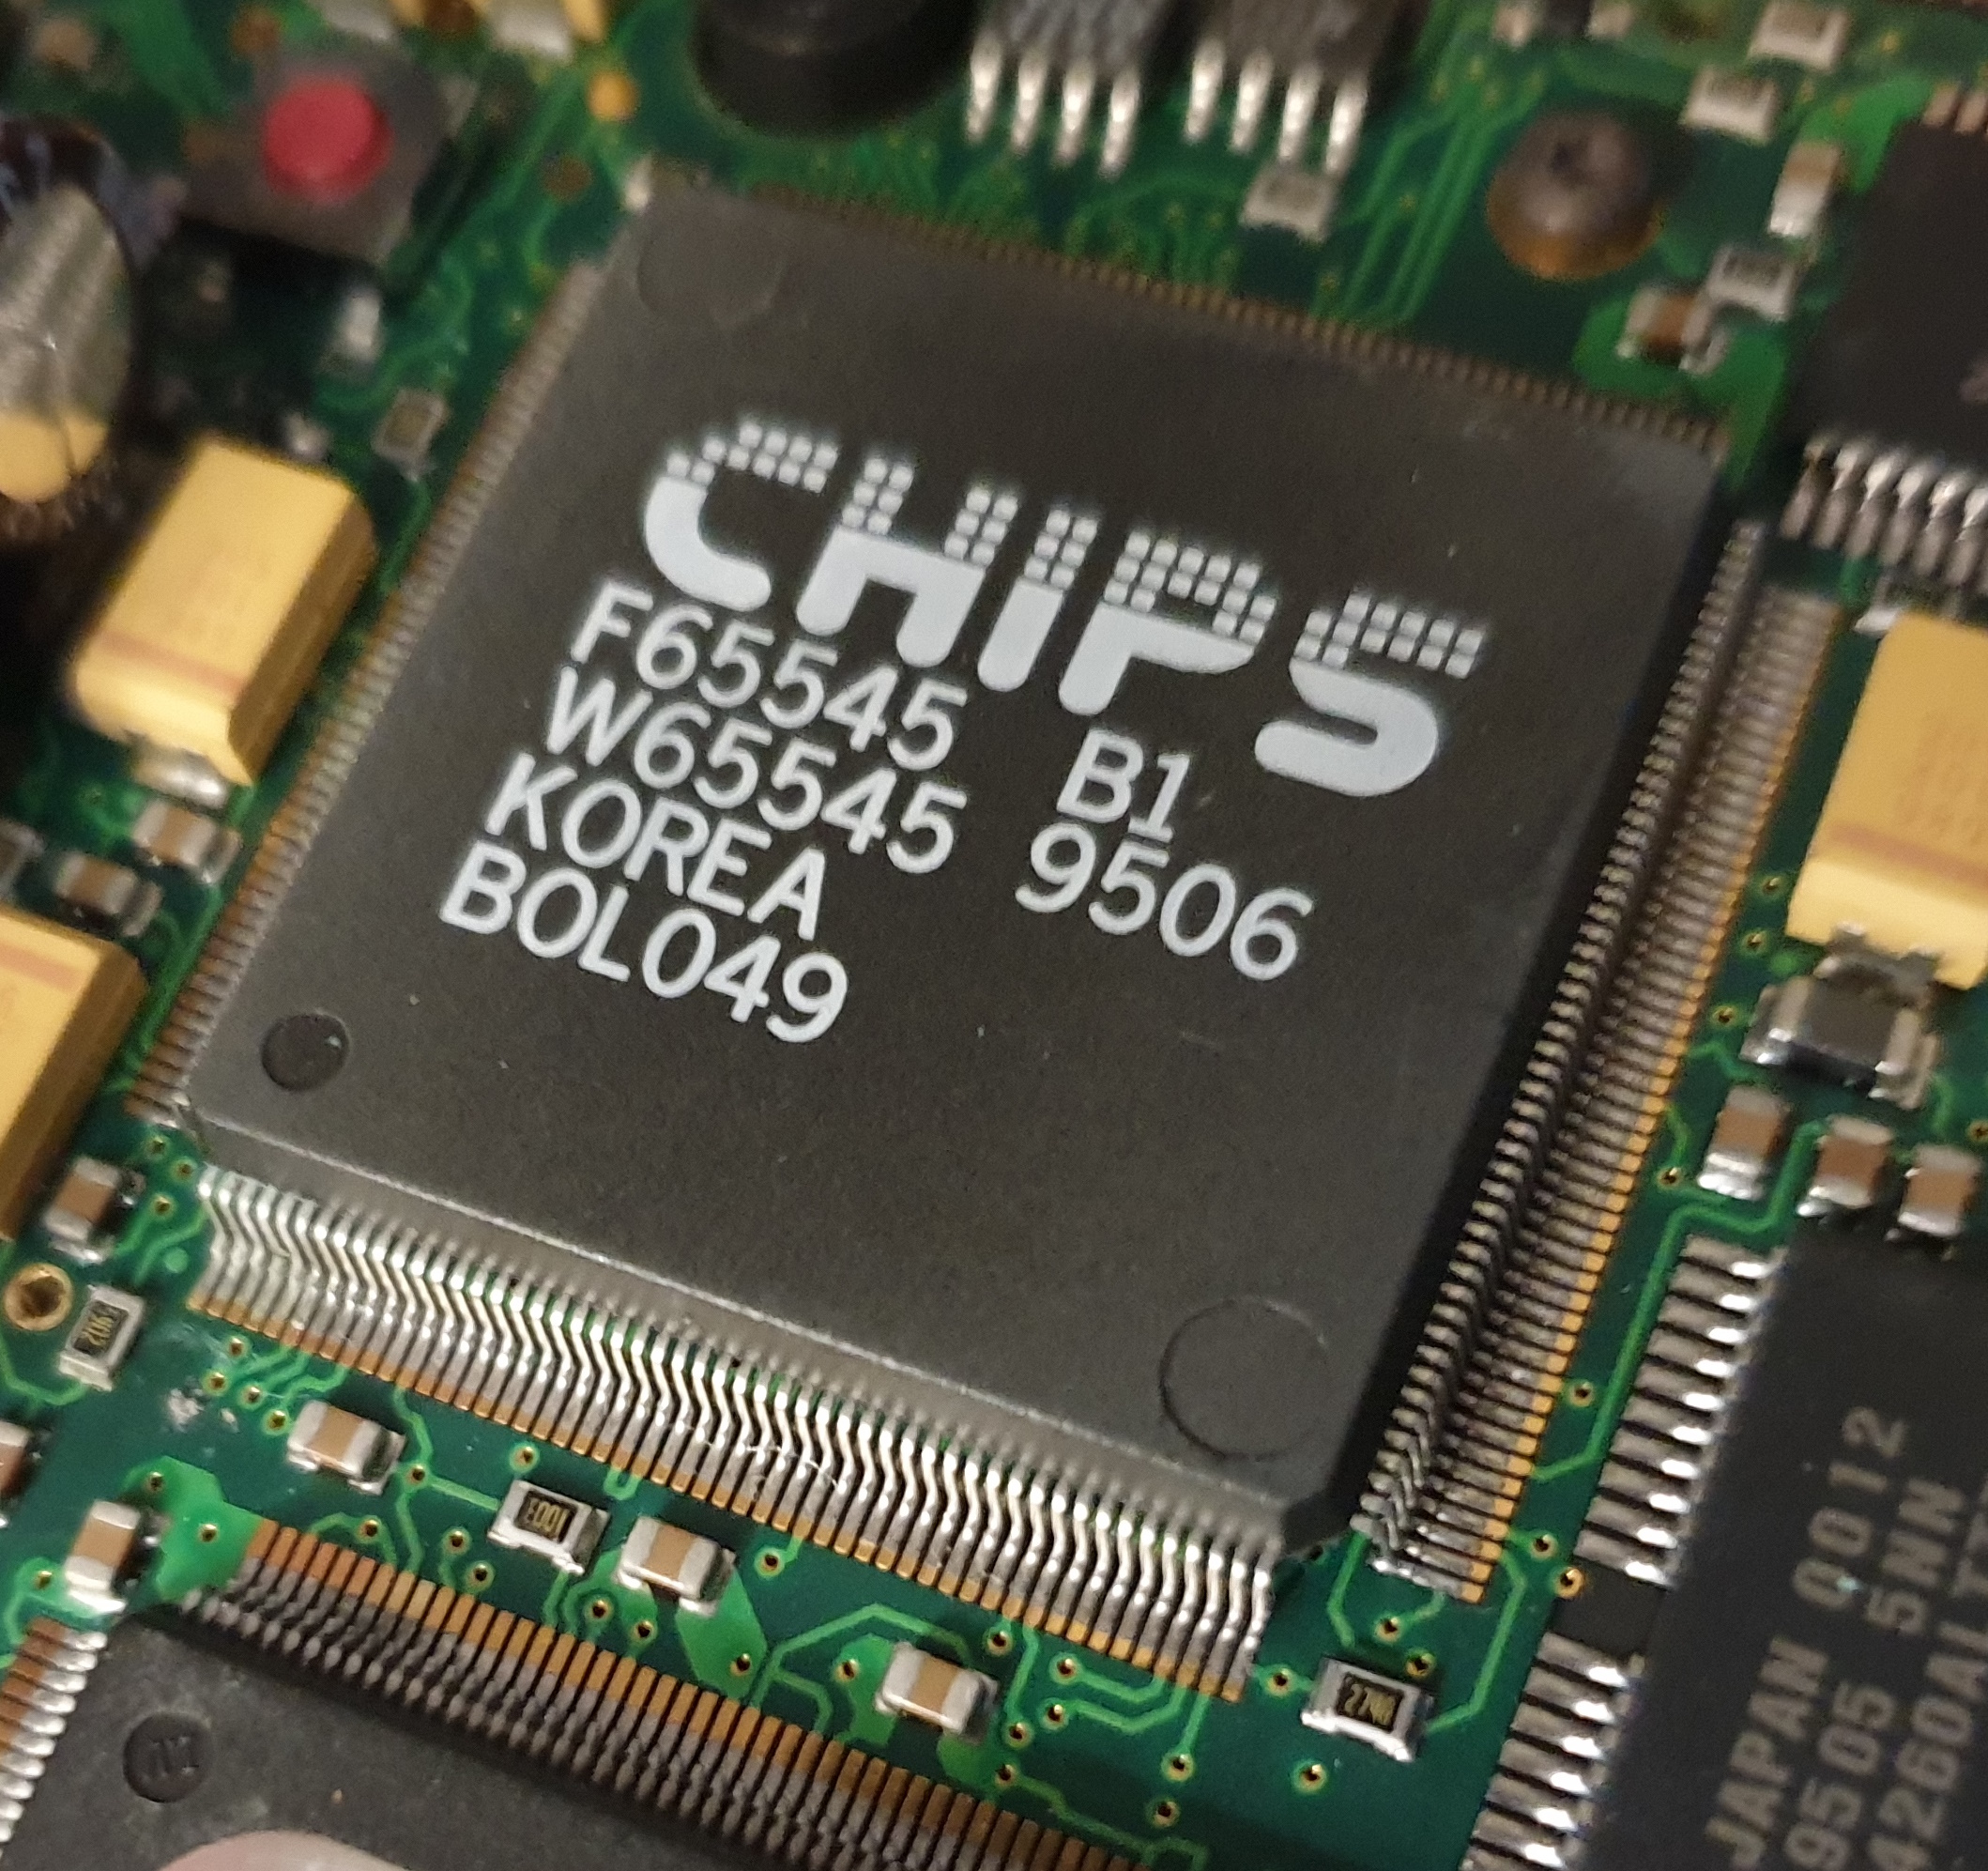
Well the good news, at least from the top here, is that the battery damage to the circuit board appears to be light. Below are some pics of the main ICs:
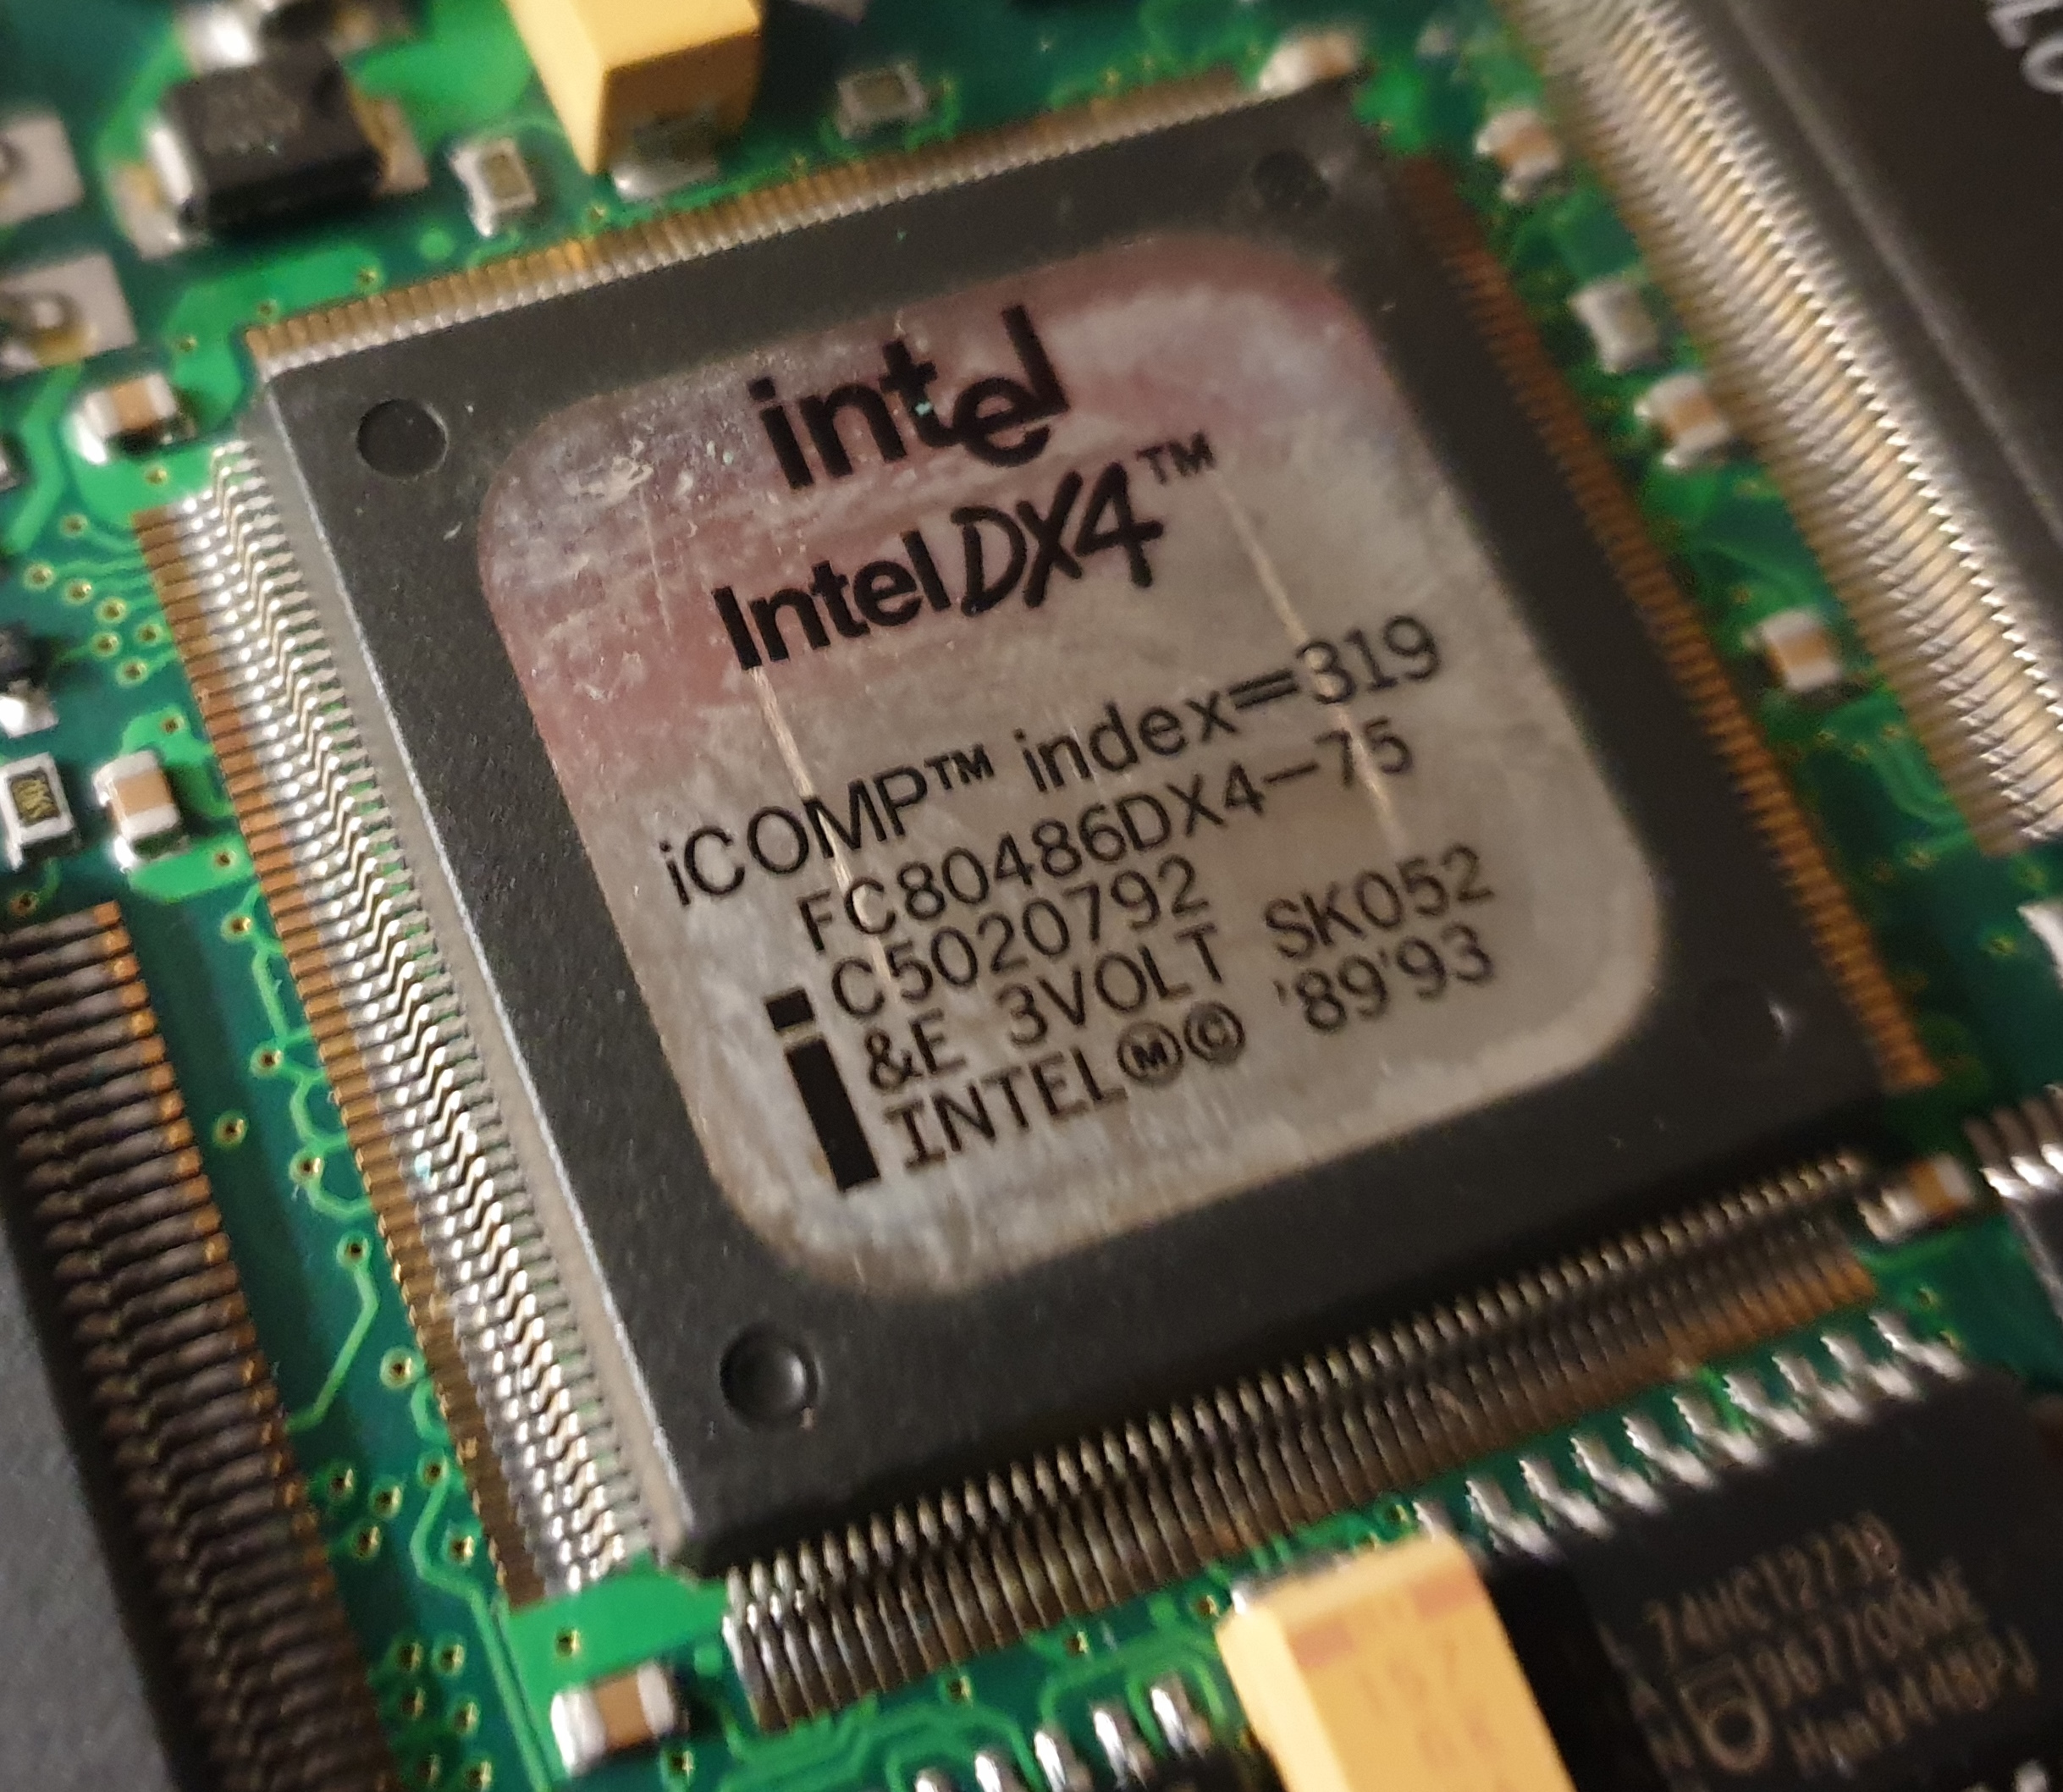
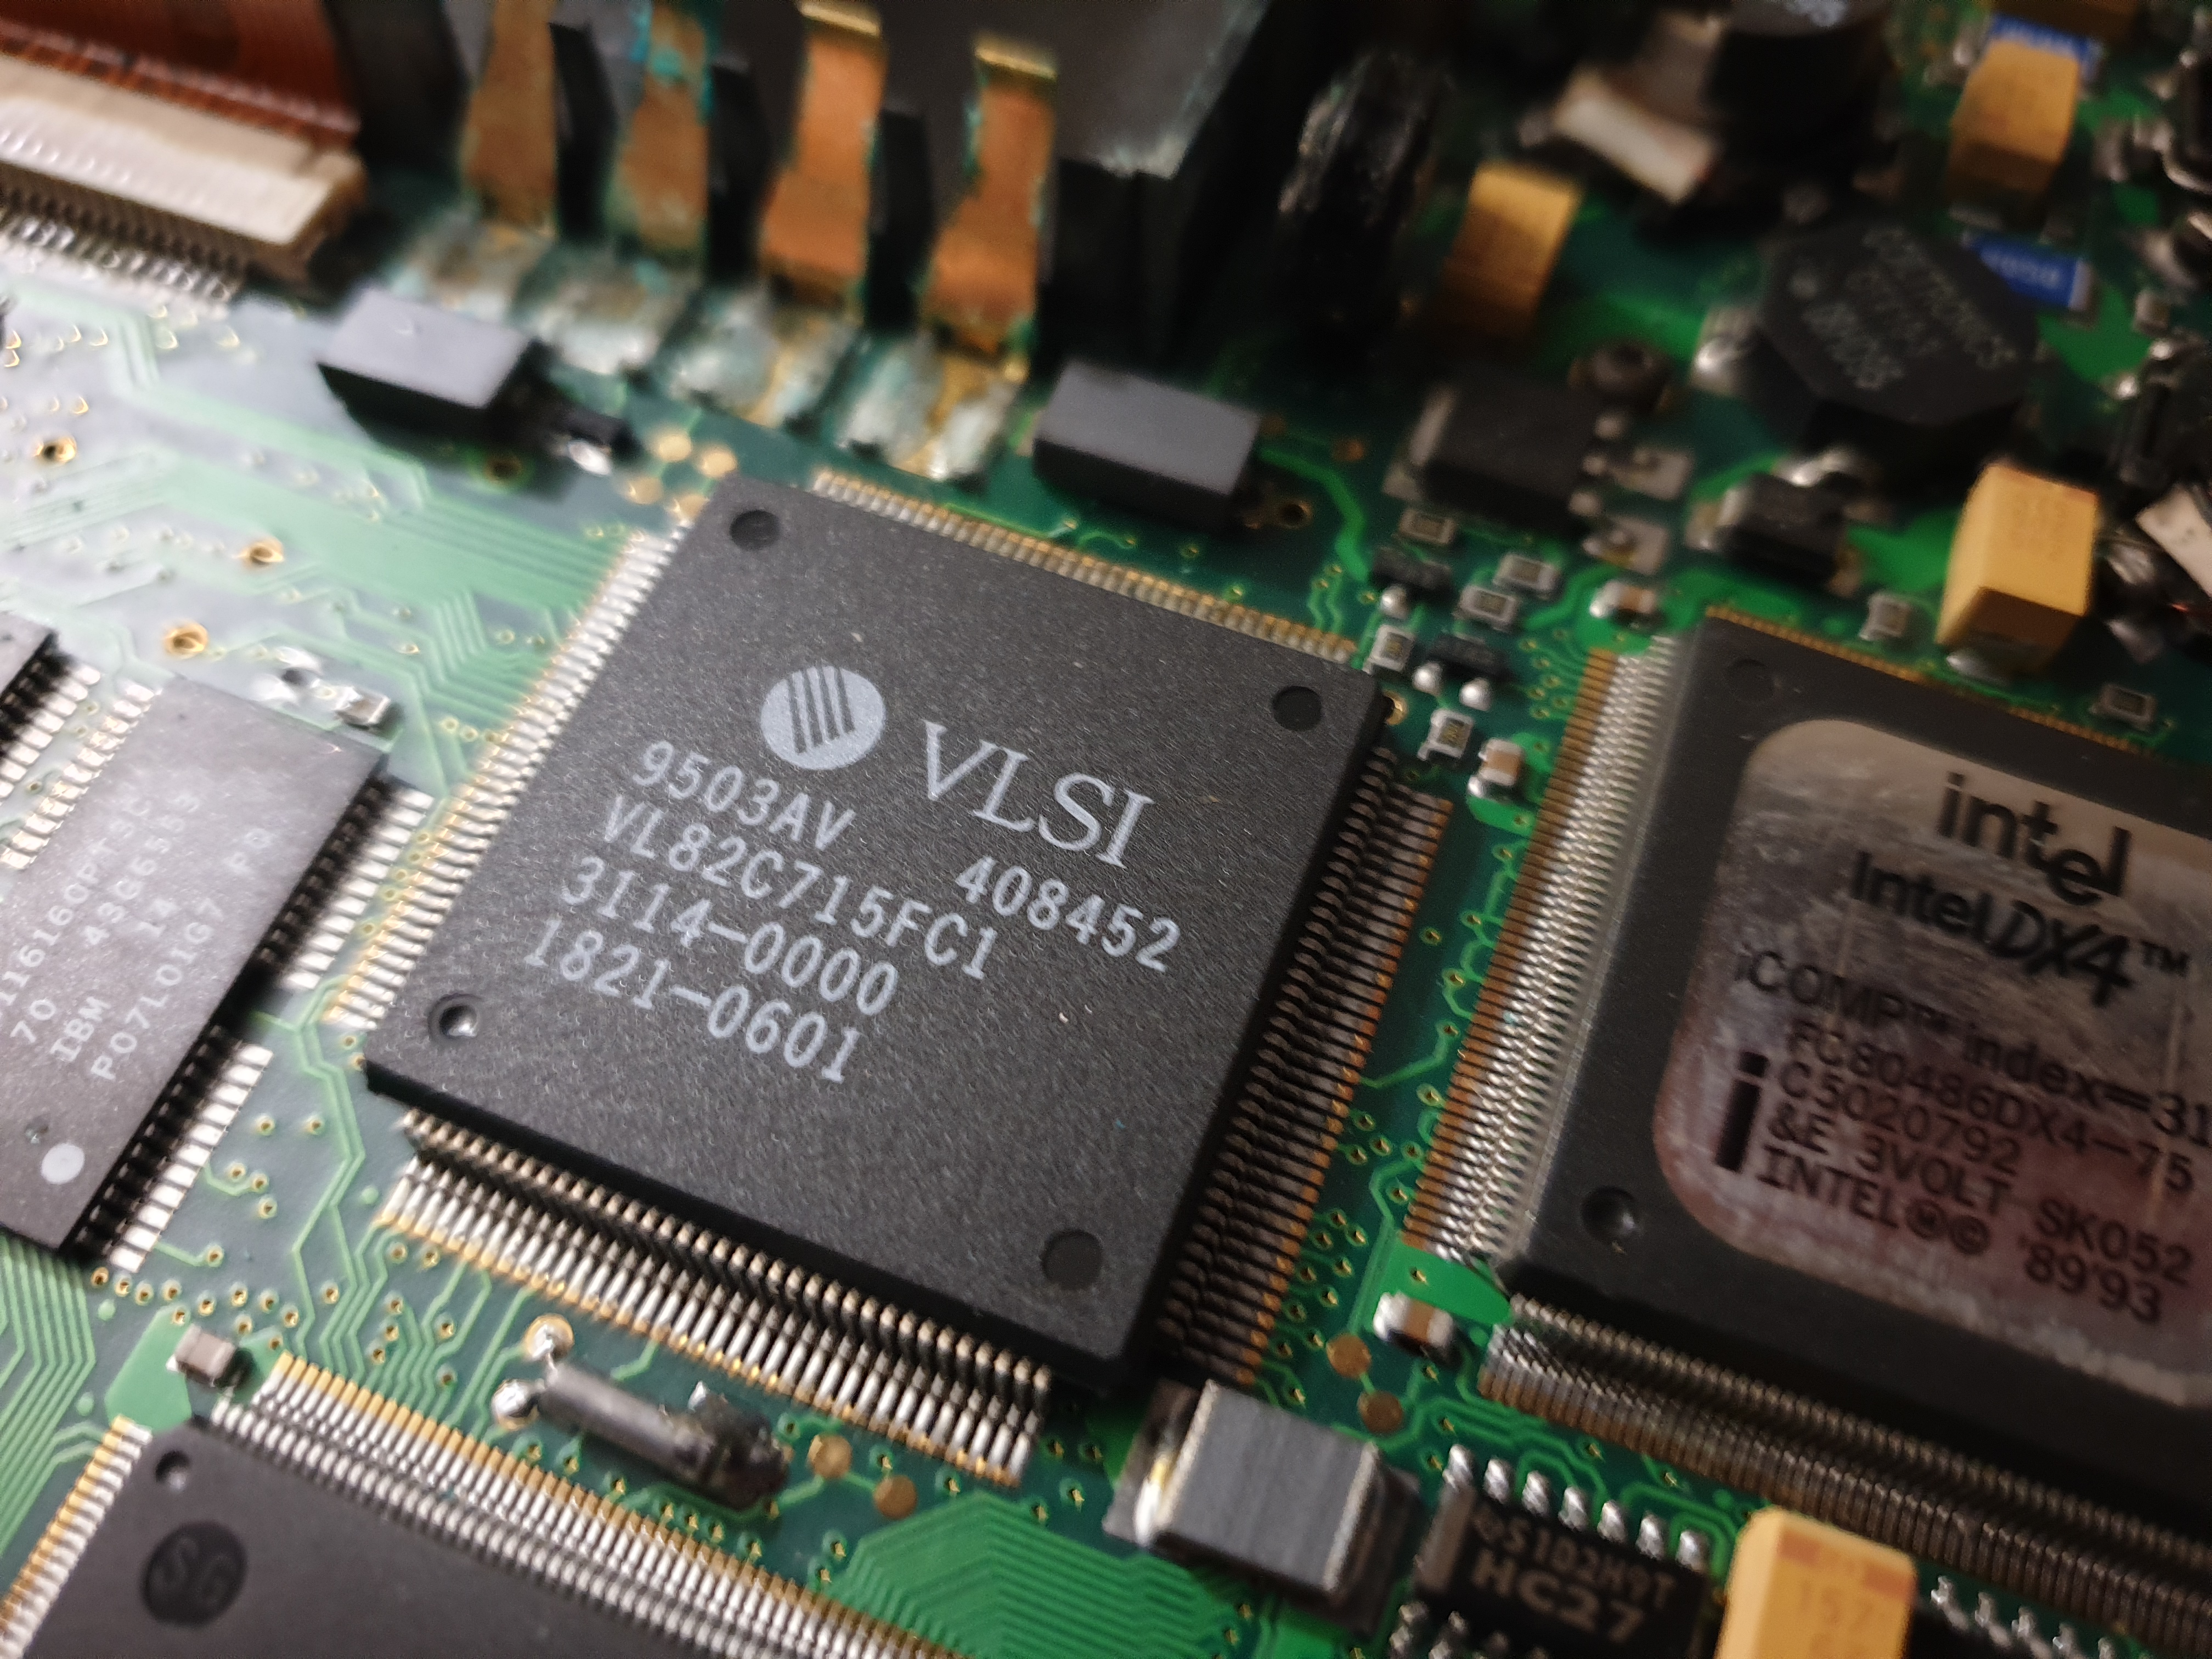
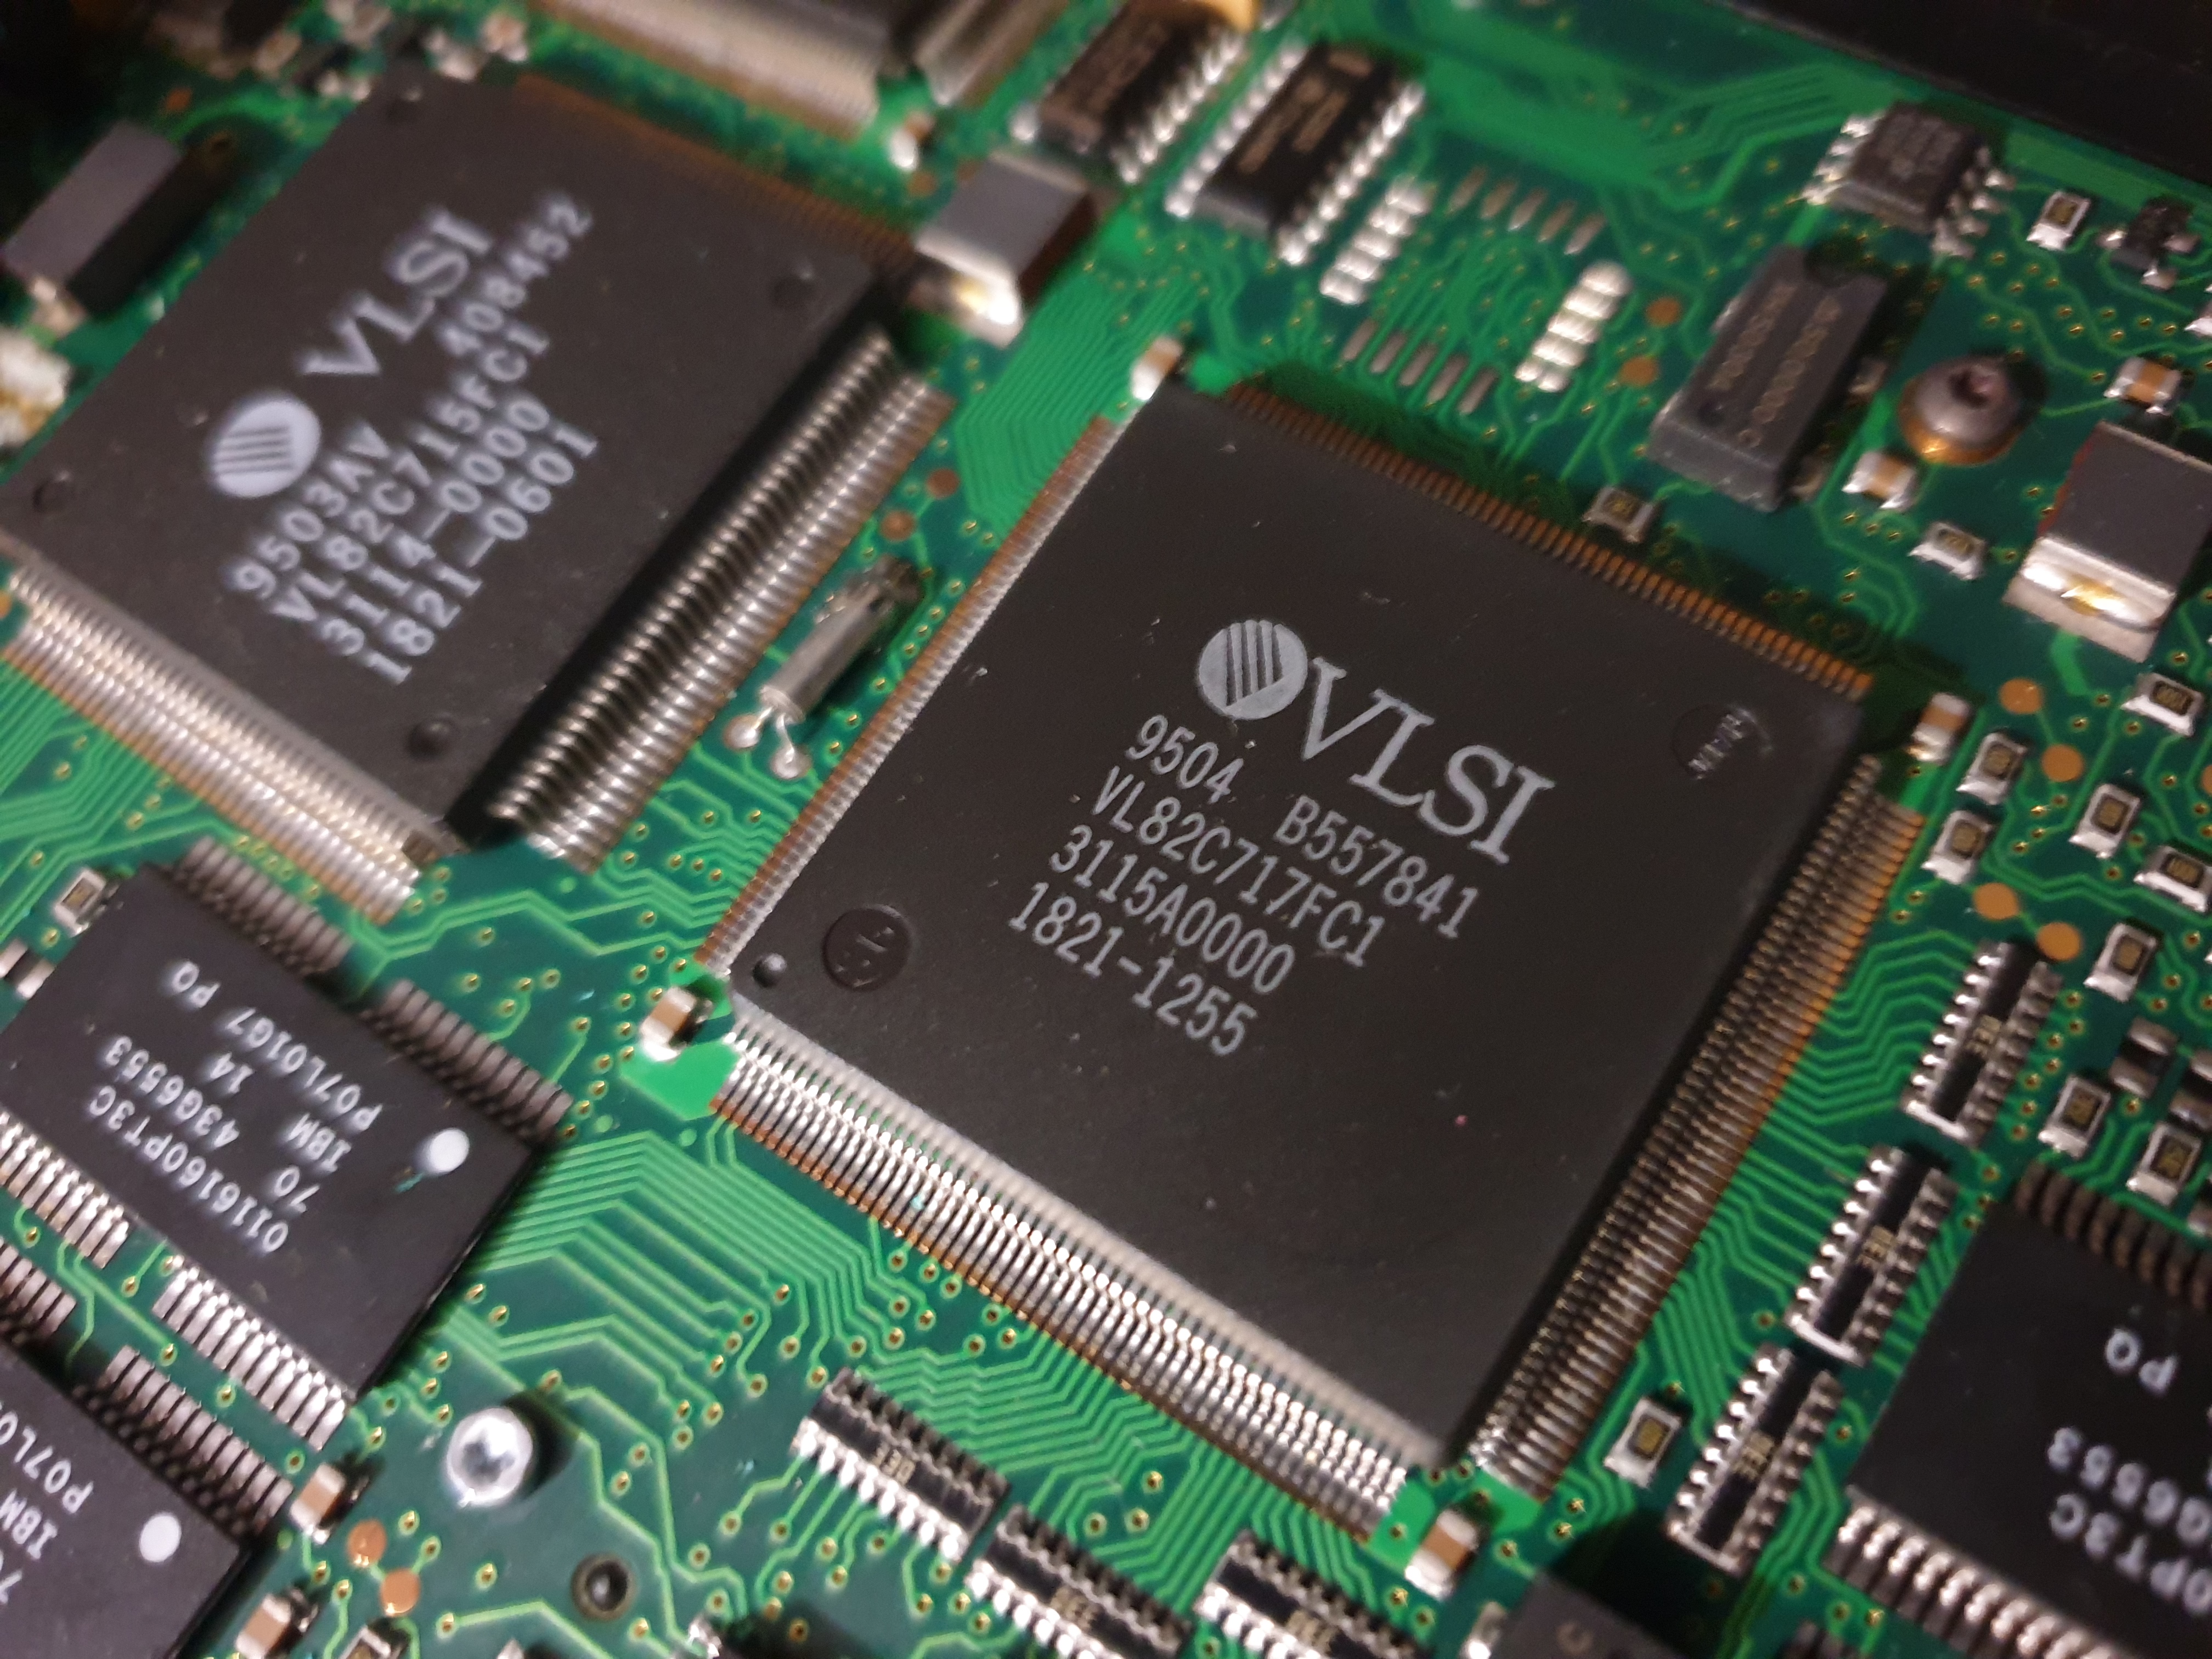
(Clockwise from top-left): The Intel 486DX4-75 CPU, VLSI VL82C715 and VL82C717 main chipset,
and the Chips & Technologies F65545 graphics chipset
Next on the list is to detach the LCD from the bottom case. This is connected via a ribbon cable in the power circuit area (top-right of the board) and a single Torx screw that acts as the grounding point for the LCD to the motherboard:
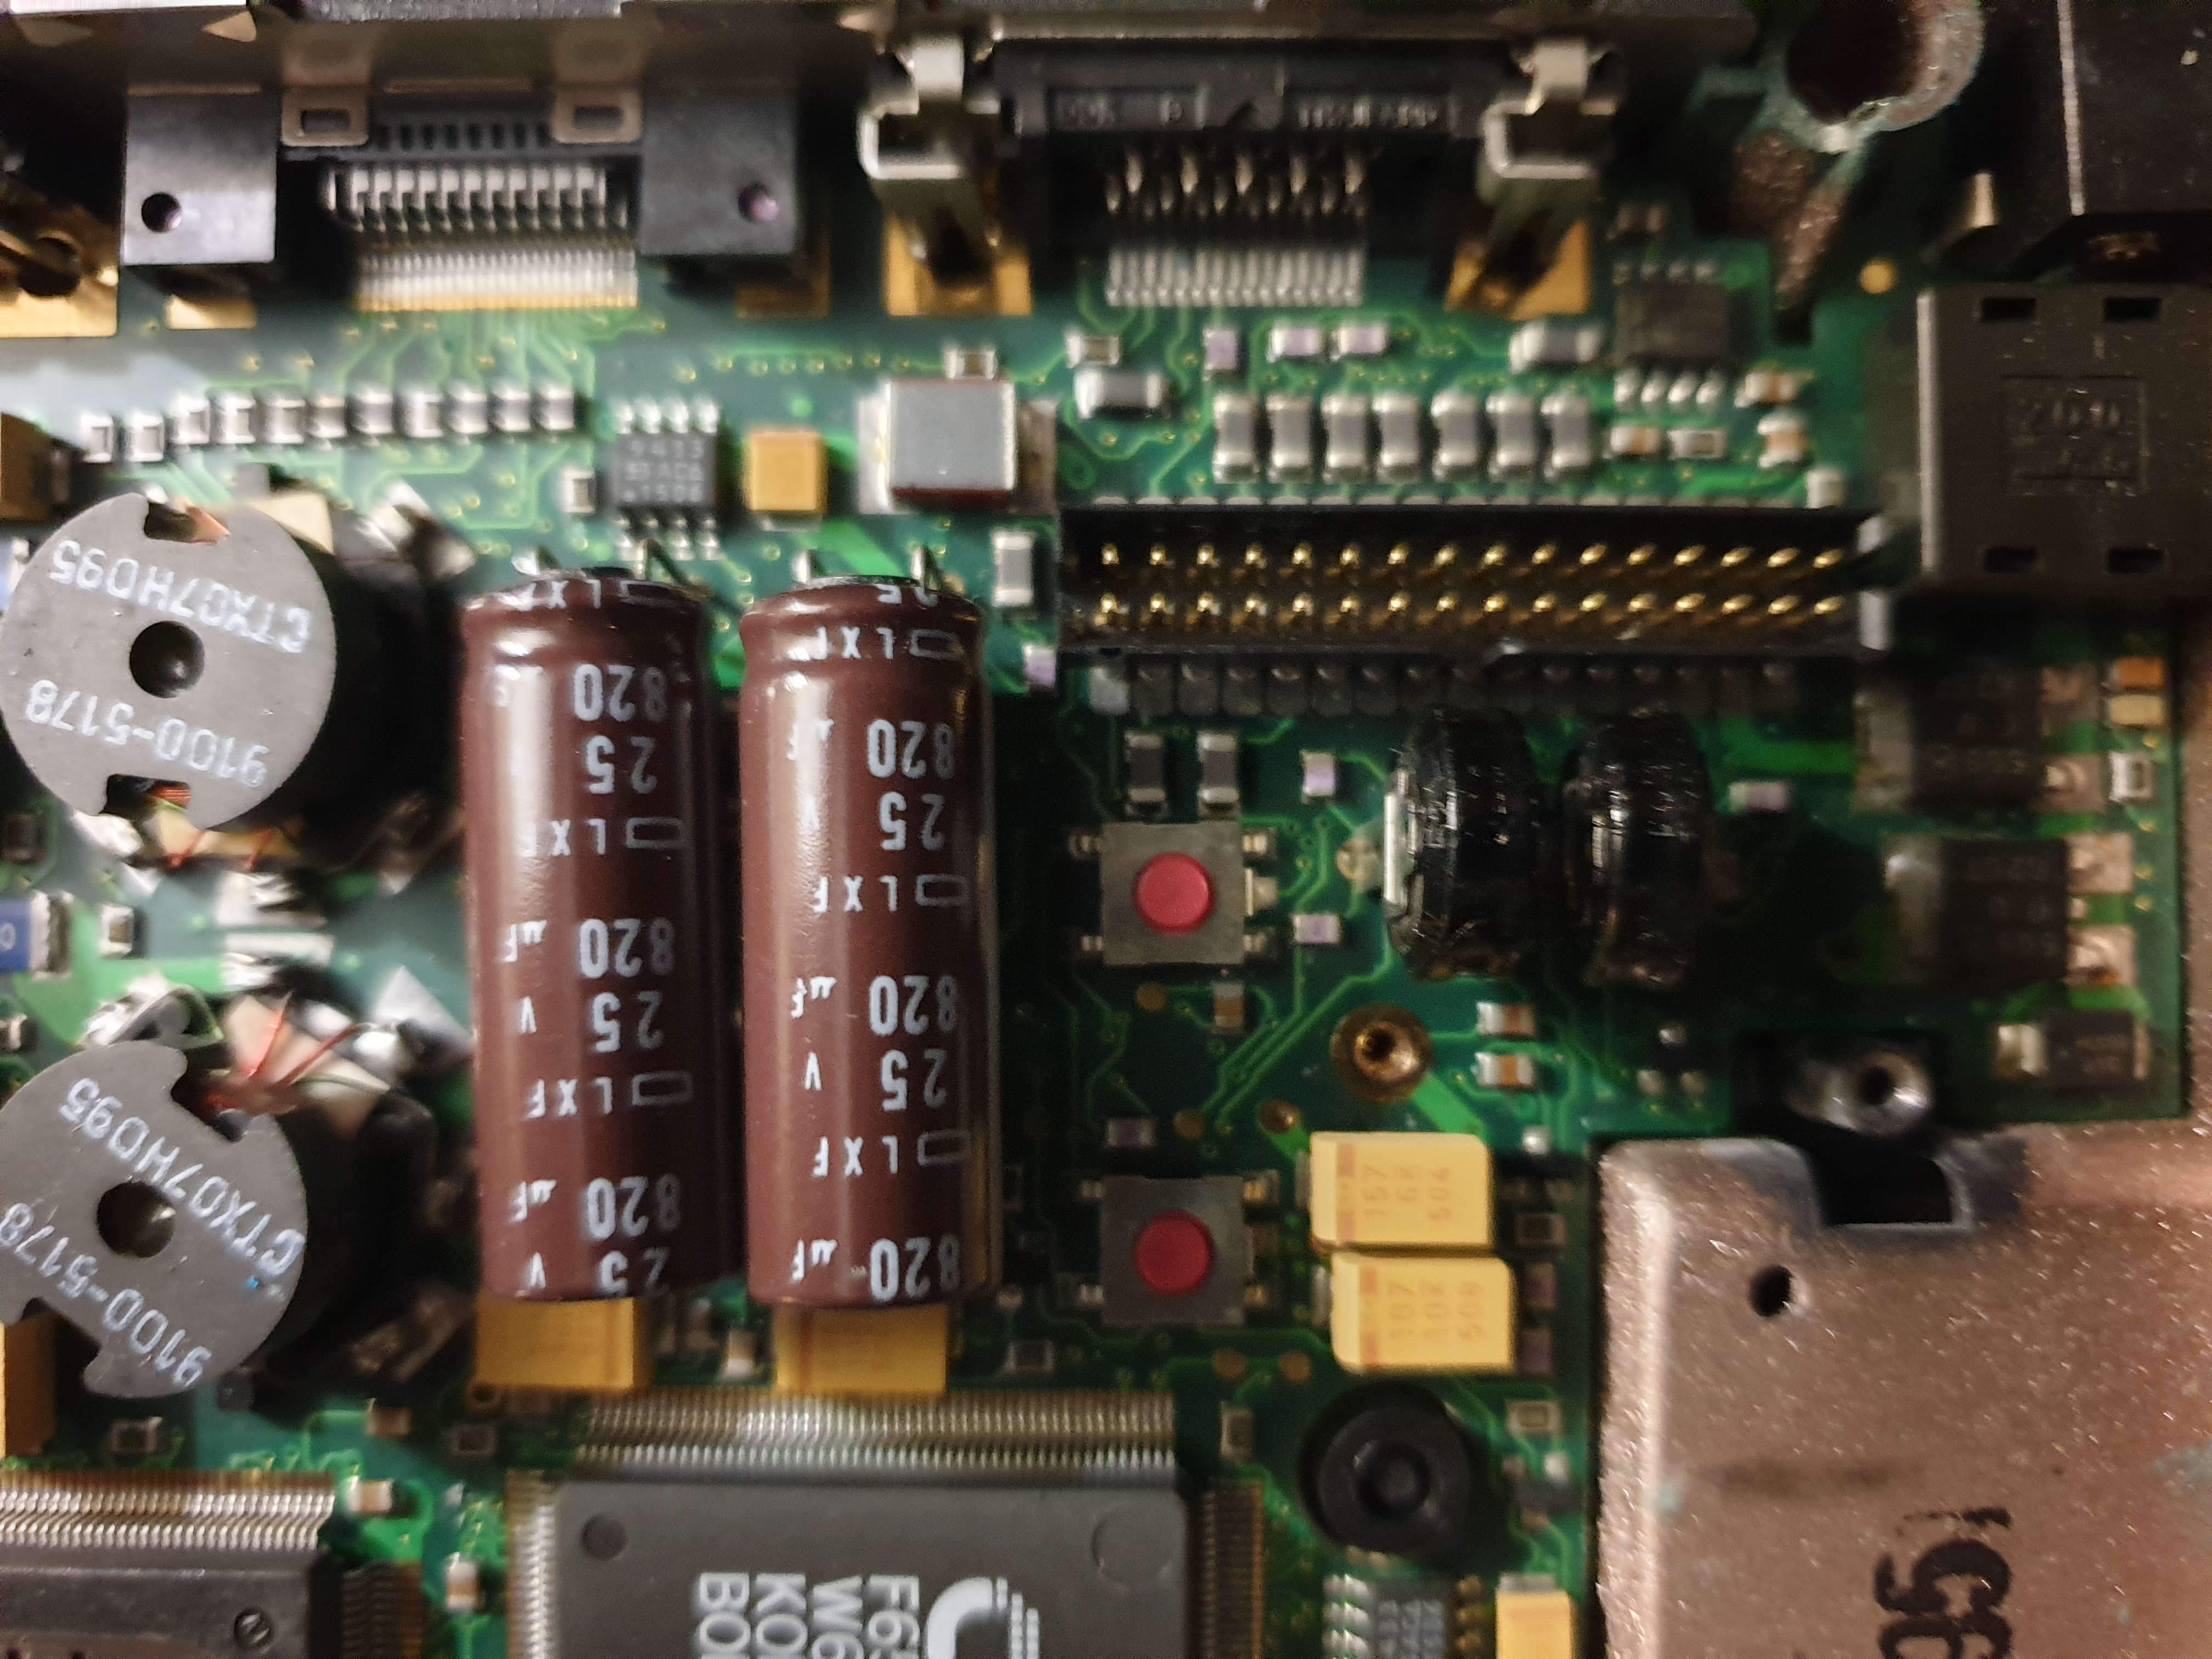
The 32-pin header that connects the LCD display section to the motherboard, and just below it the copper Torx screw hole that had a ground wire attached
You can now remove the LCD screen completely from the bottom tray:
And finally, the motherboard is ready to come out. The motherboard is held in place by six more T6 Torx screws - unscrew these (I've already removed them in the picture above).
Note that the end of the PCMCIA card eject arm (lower left of the board) will lift out of its black plastic rectangular slot when you lift the board, so best do this first - just lift the arm fully out and remove it.
There's a little daughterboard underneath the mainboard here that is for the mouse. Locate the small ribbon cable just below the CHIPS IC that goes immediately under the motherboard - using a small flat-bladed screwdriver lift the clamp slightly on both ends - you can now detach that ribbon cable. The motherboard should now be able to come out - while pushing down on the bottom tray, pull up on the external VGA connector and then on the docking station connector at the other end to release the board from the bottom tray - if there's resistance you may have forgotten one of the screws!:
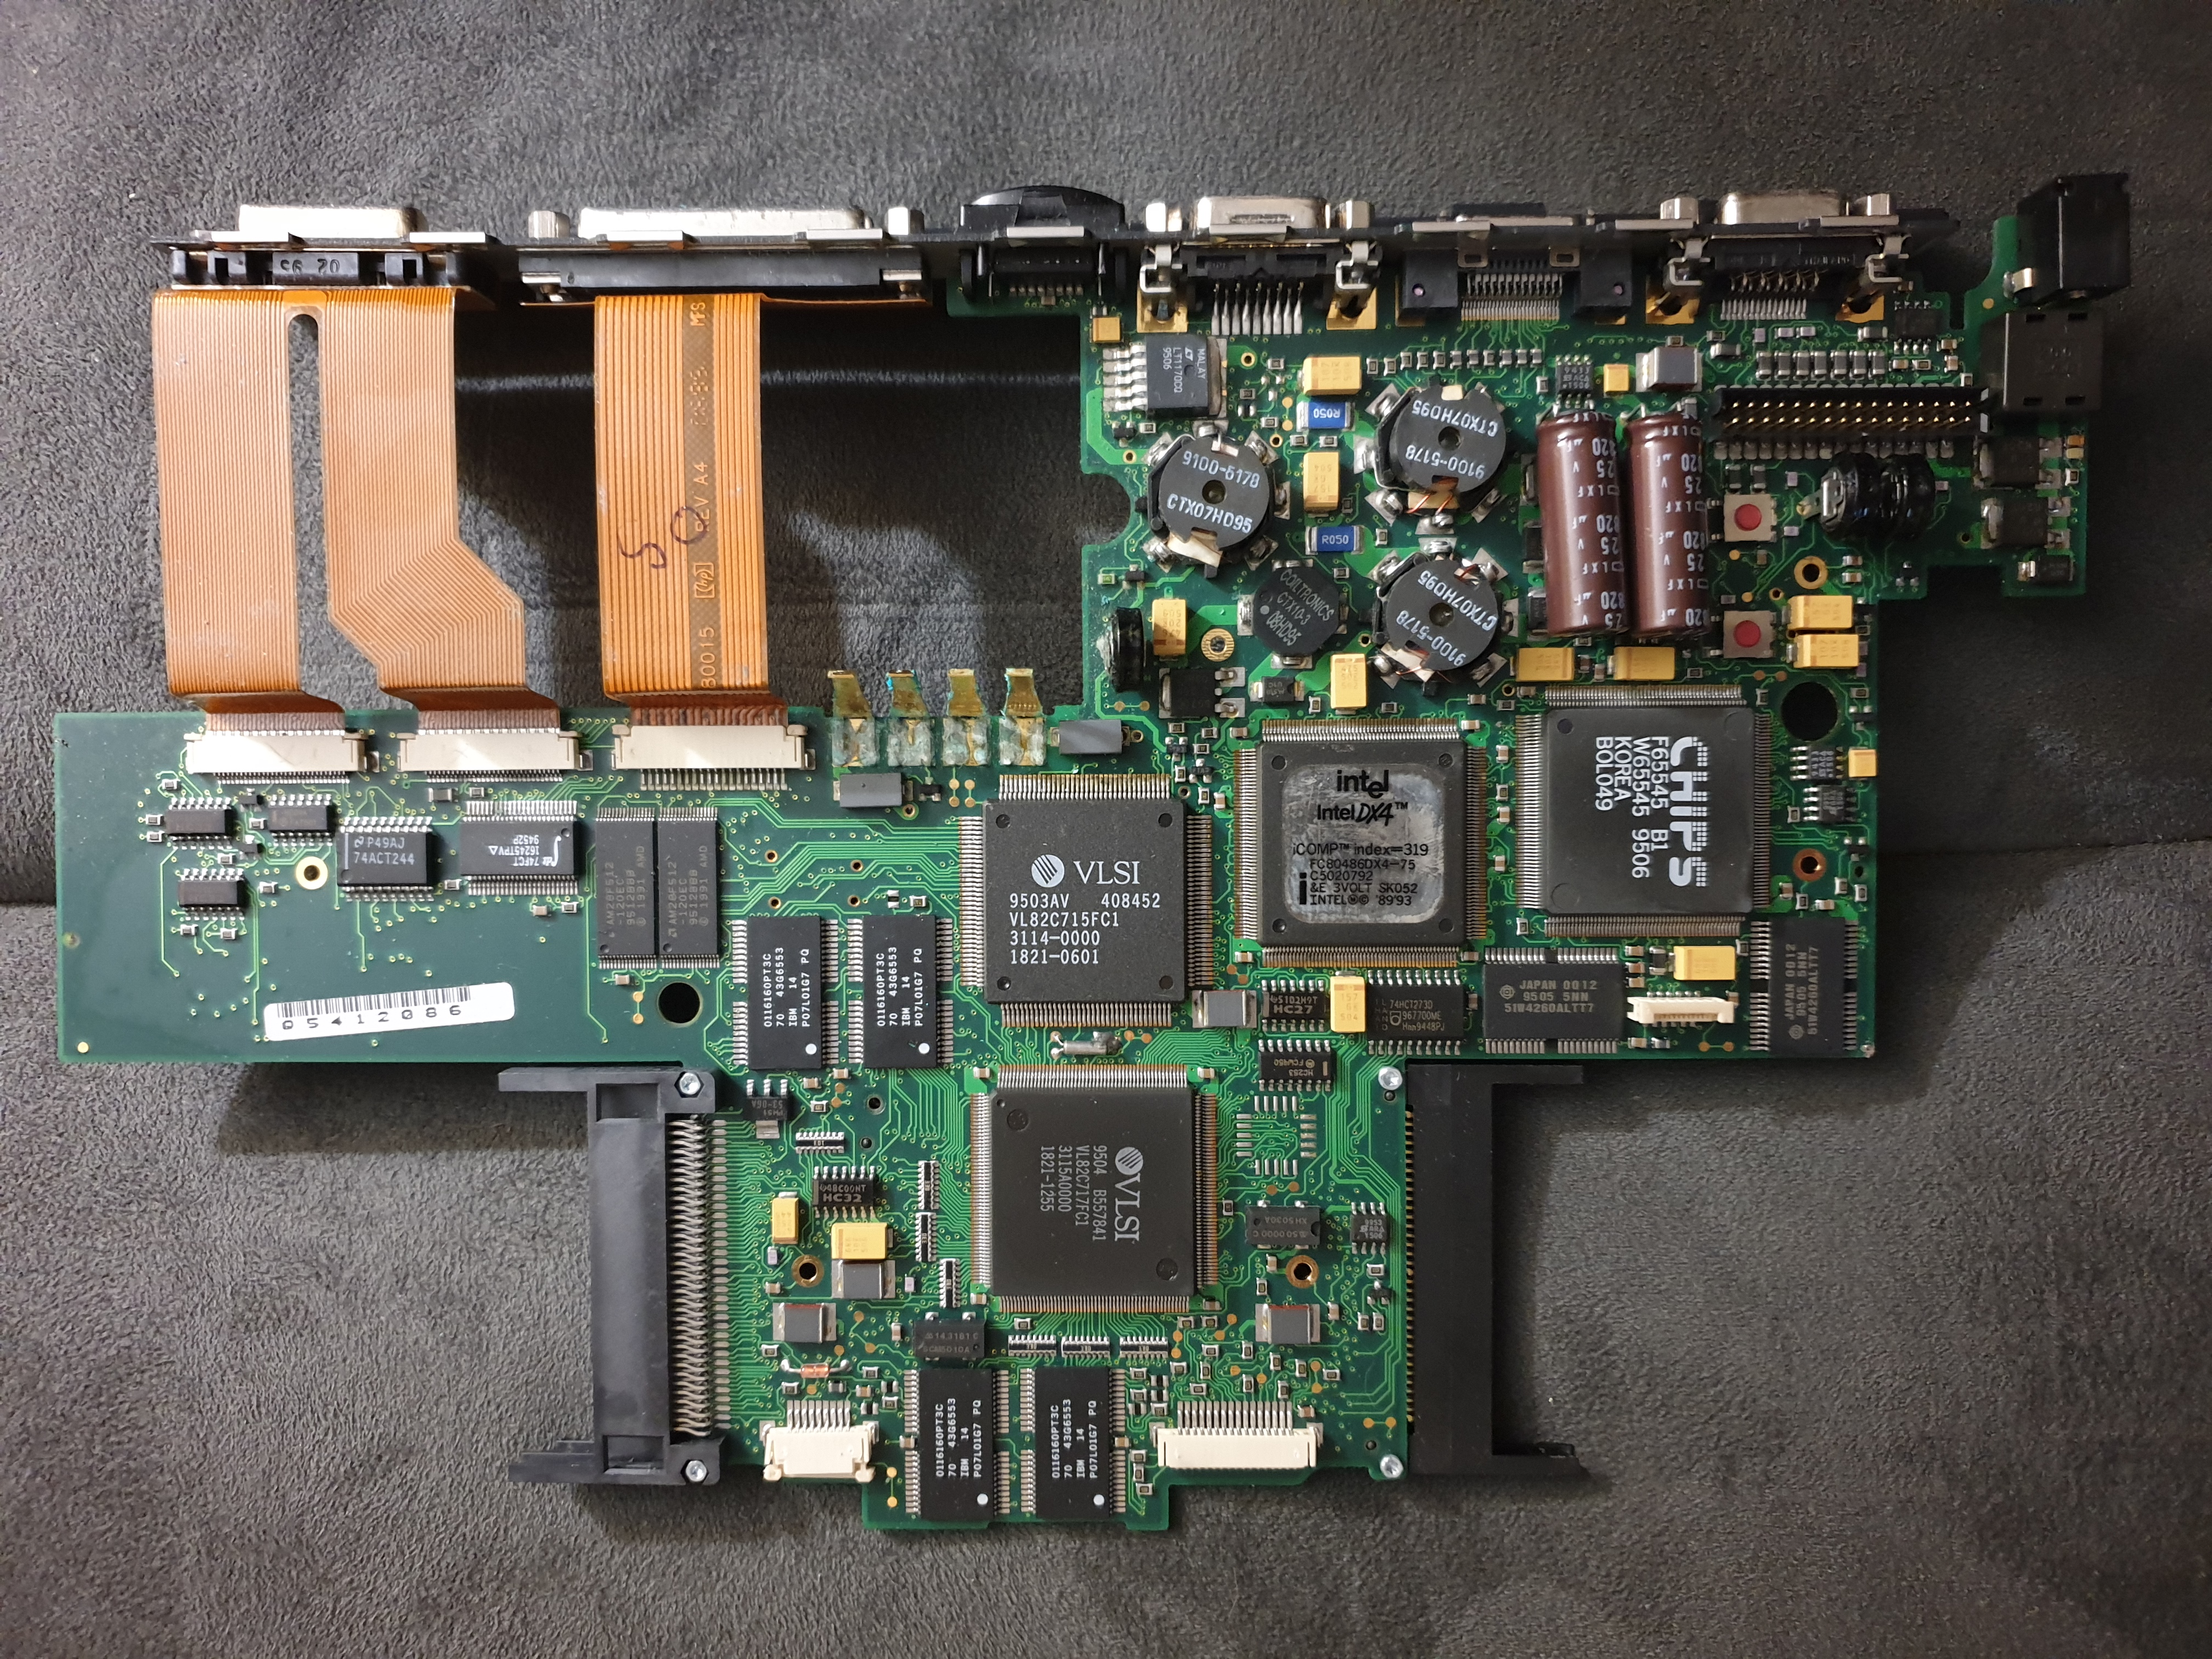
The top side of the motherboard, removed from the bottom tray

... and the underside
So this is actually great news - the battery leakage is really limited to just the battery pins on both the top and bottom, and of course to the battery bay. There's also lots of corrosion elsewhere in the bottom tray, so this will need to all be thoroughly cleaned before I reassemble.
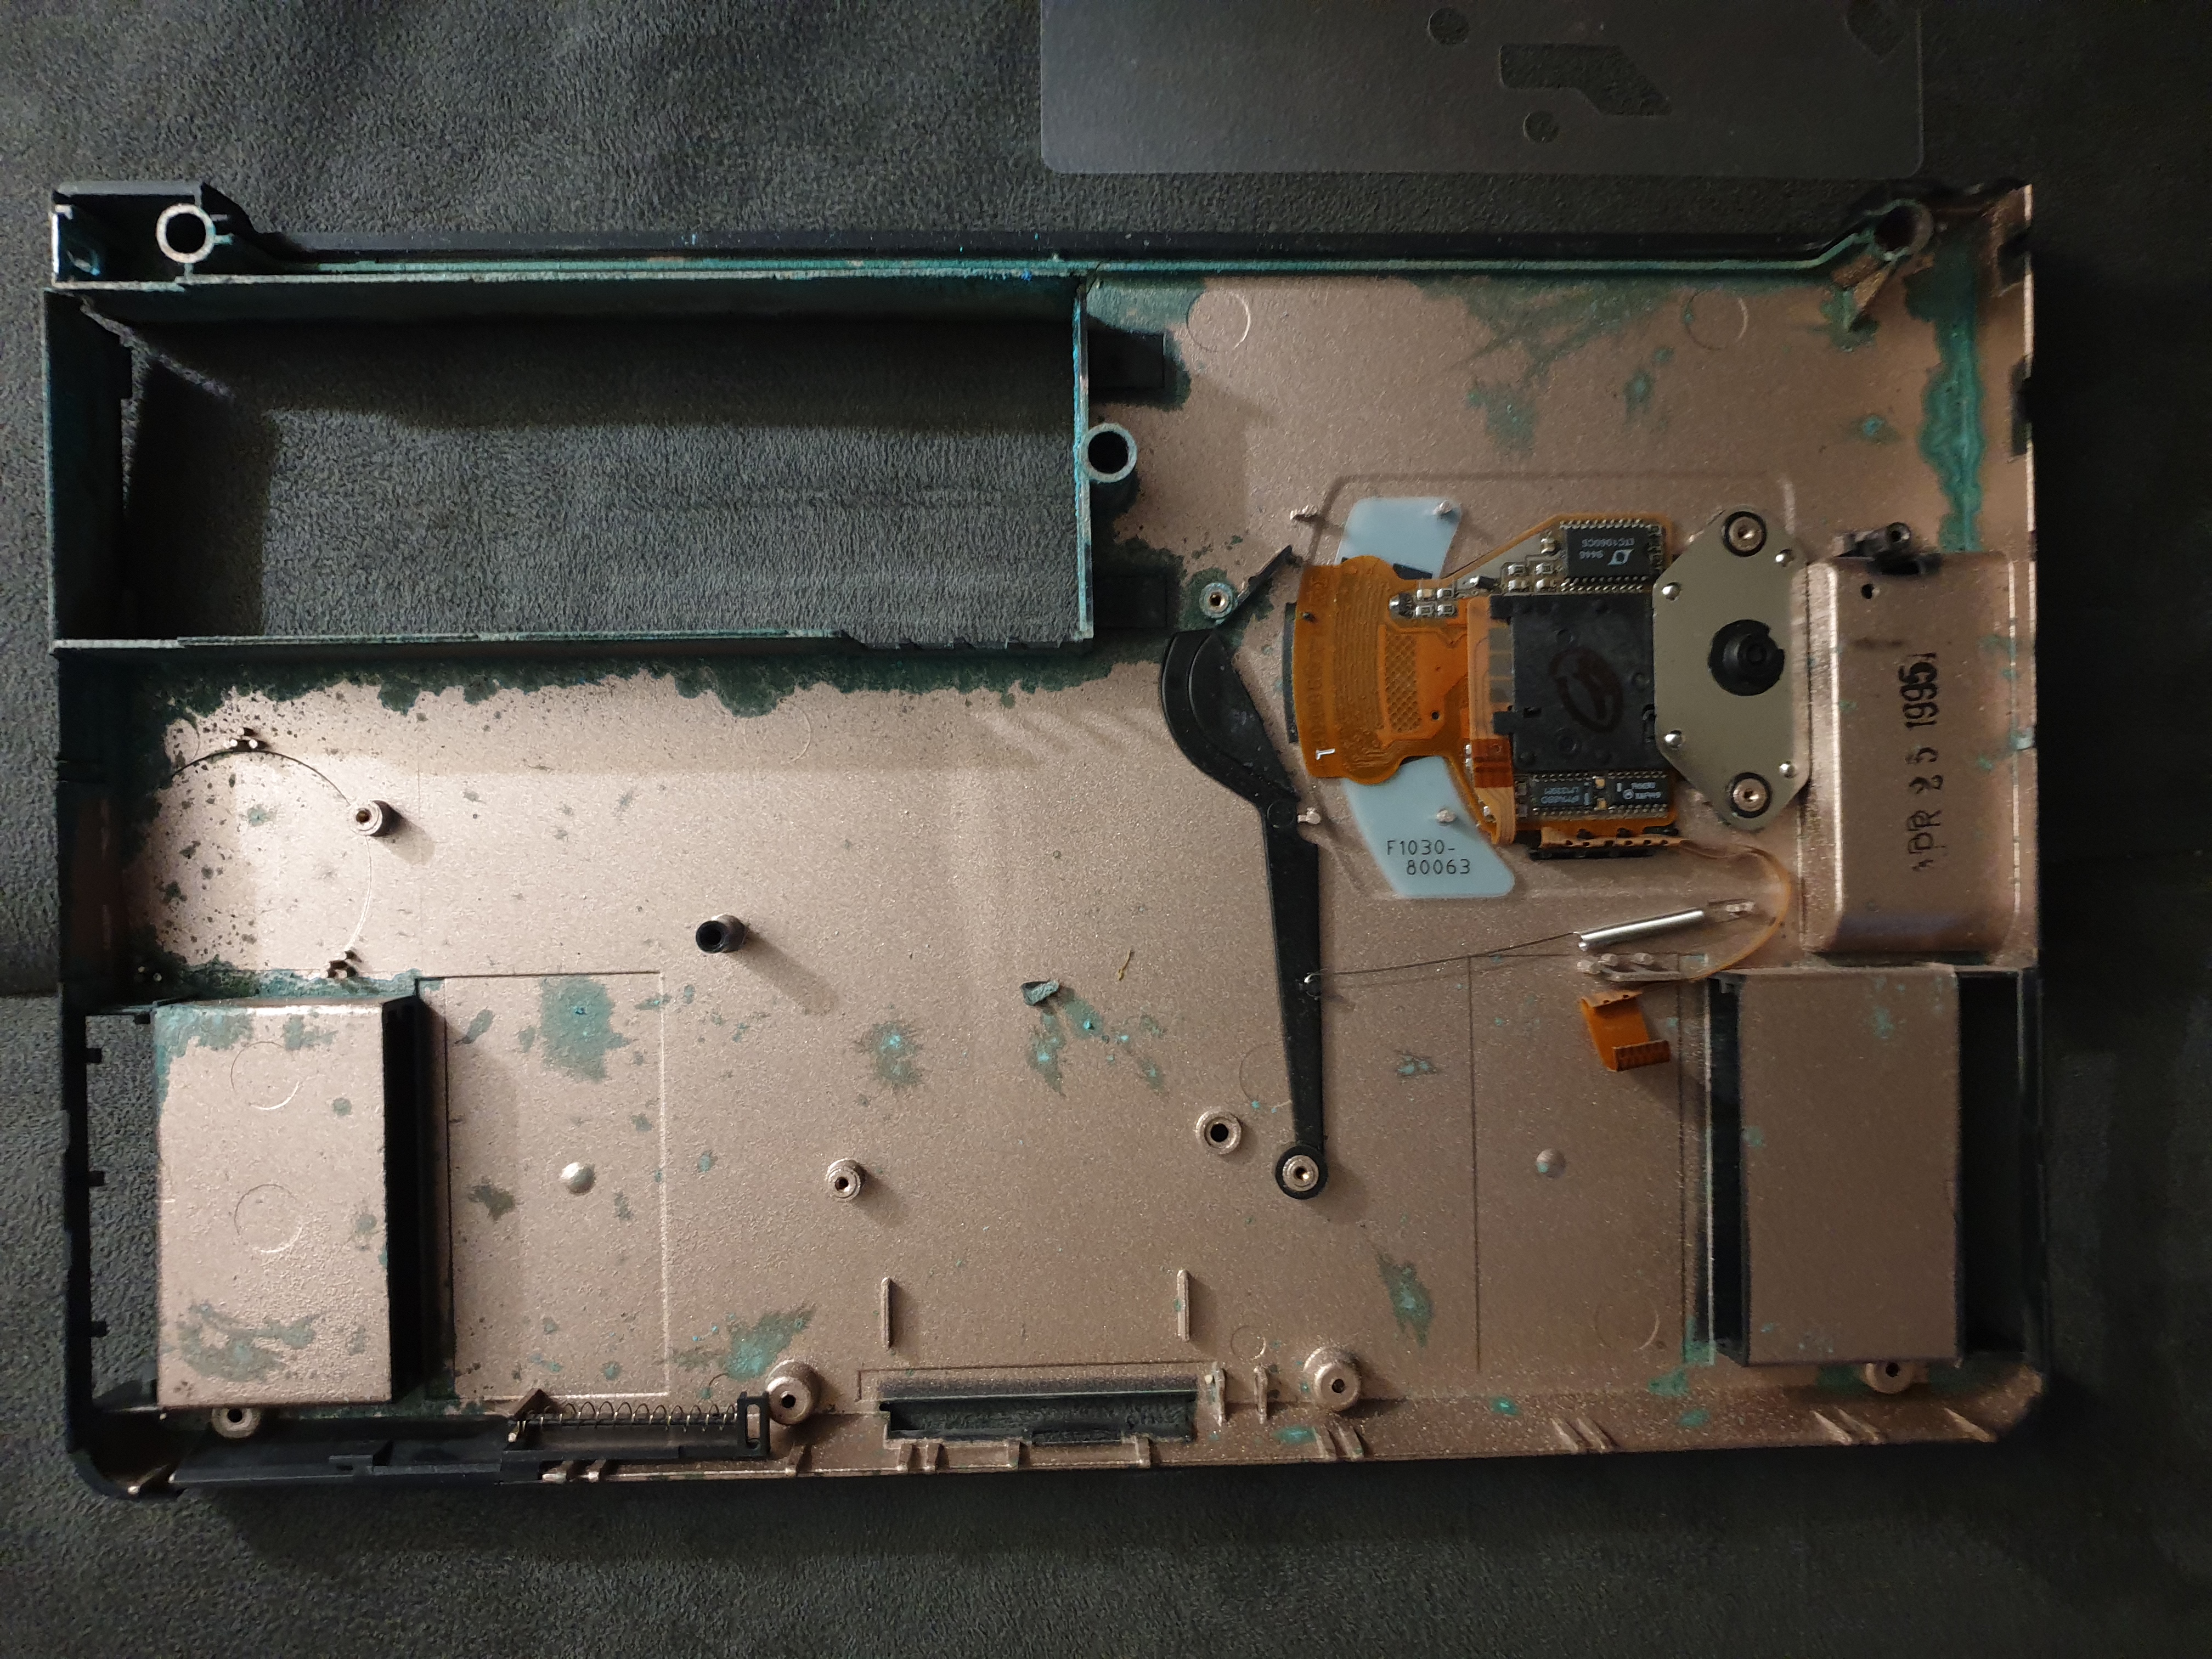
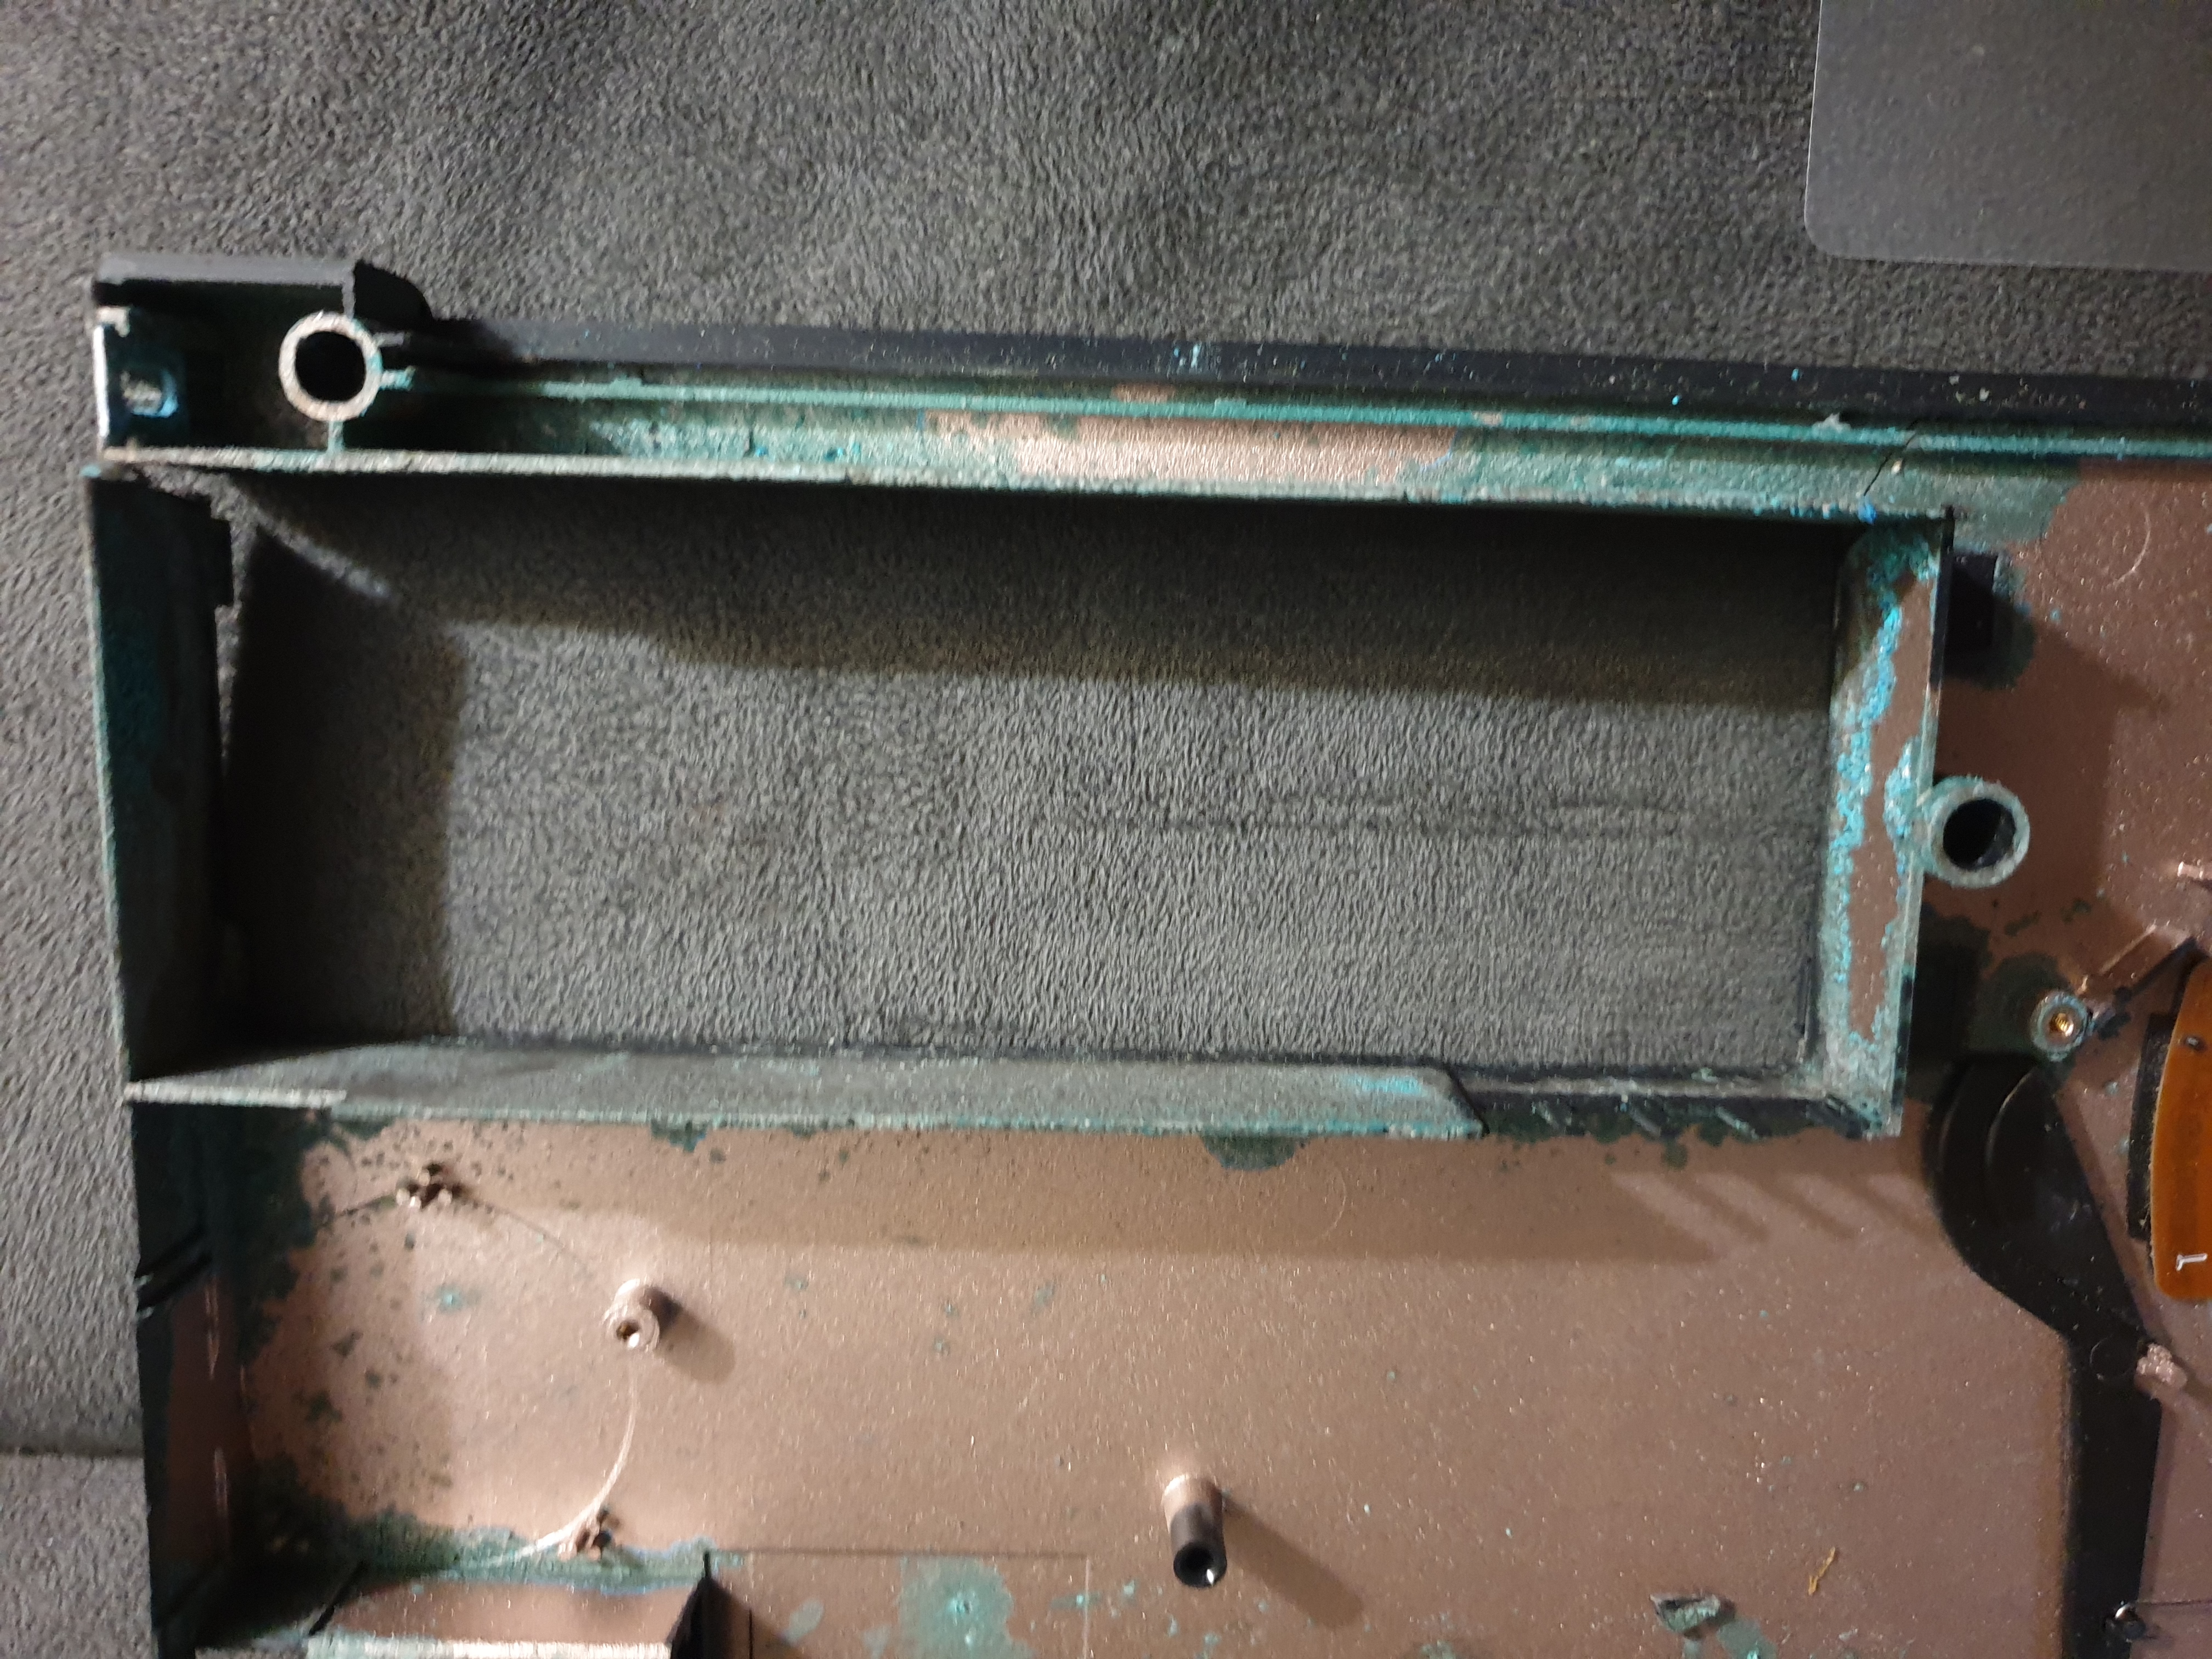
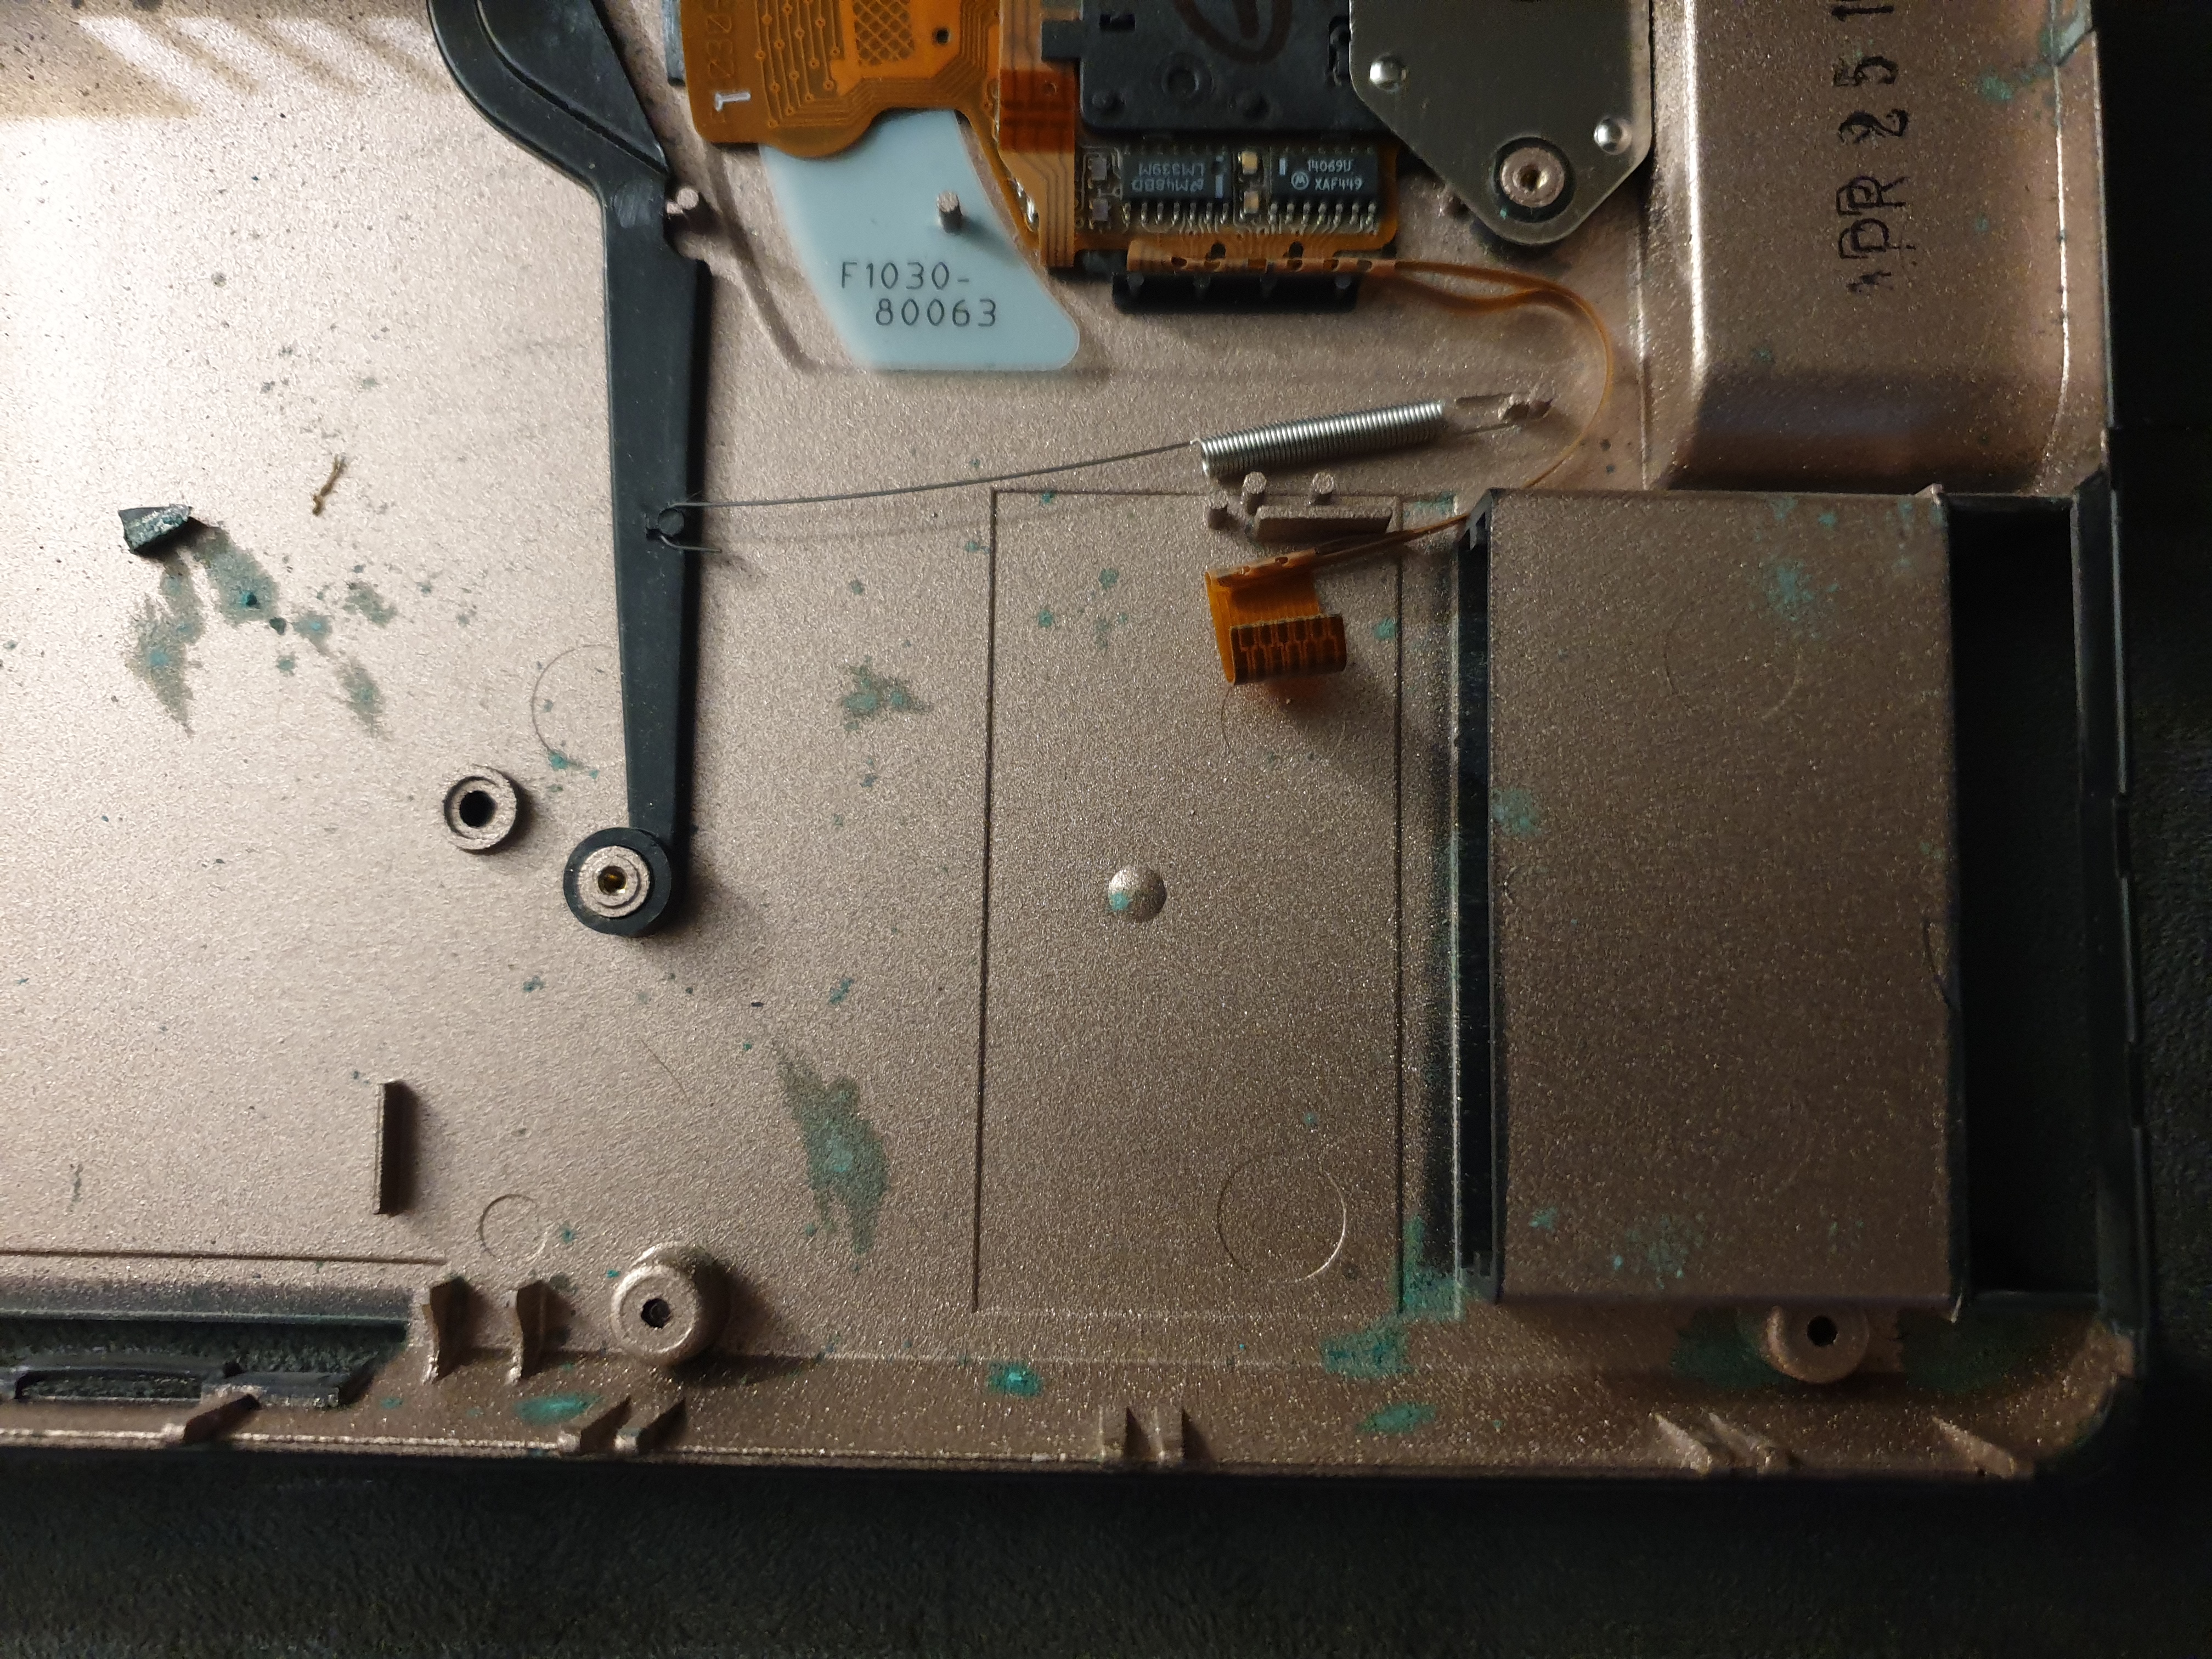
The bottom tray with battery corrosion all over
In Part 3, the cleaning operation will commence: neutralise the corrosion, wash, IPA, wash again. Failing that, those battery pins may need to be completely removed.